Topdesk Documentation
This guide will show you how to set up your new Helpdesk Buttons with Topdesk in as few as 15 minutes.
Integration
Topdesk integration requires three main parts:
1) set up an unregistered user as a catchall account as a contact in your PSA
2) set up the API integration.
3) configure helpdeskbuttons account.
Video Walkthrough

1) Unregistered User
We will want to create a catchall contact so we will be able to create tickets even if your users mistype thier email address. One way to do this is via the caller card option in the Main Menu
Once on this page click the bubble beside the caller selection field and select New Person.
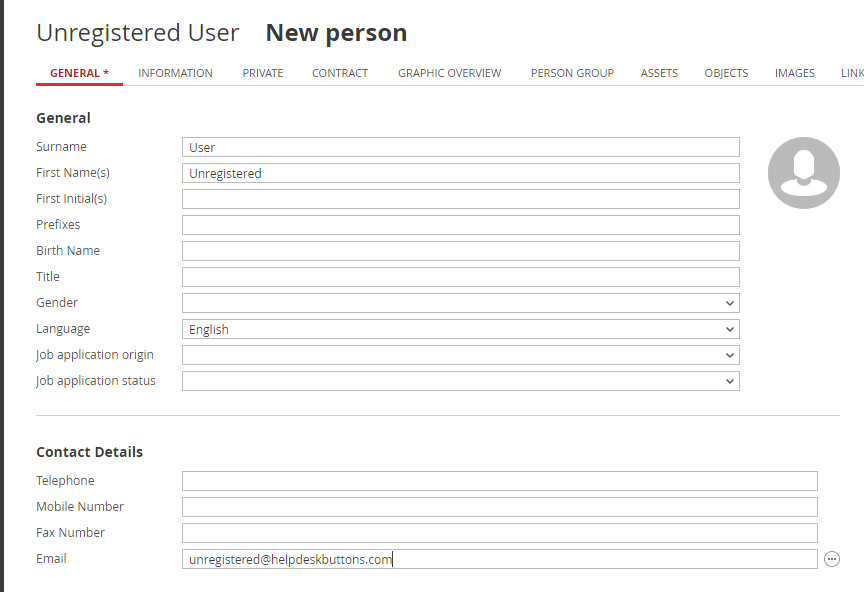
The next window can be filled out however you like, but the email address of this user needs to be unregistered@helpdeskbuttons.com
2) Get an API Key
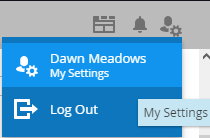
This step requires that we create an API Key for your account. To do this click on the top left corner icon and select My Settings.
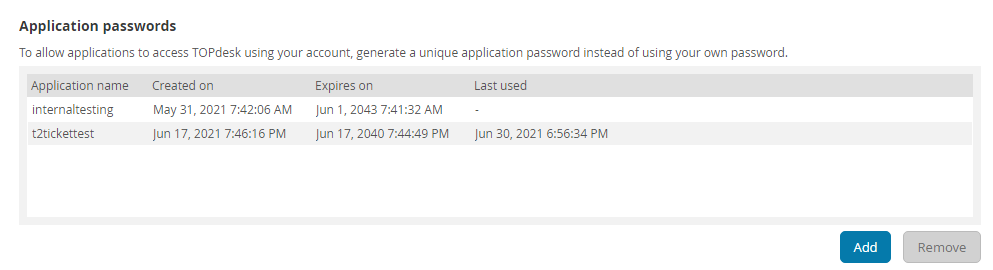
At the bottom of the page there should be a section that shows information about the API keys connected to your account. Click Add to create a new key.
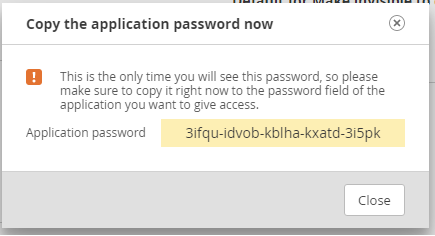
The next window allows you to name your key and requires you to set an expiration date for this key. Once you do so the key will be shown on the screen. Make sure to copy this down for the final step.
3) Helpdeskbuttons.com Settings
Enter your Ticket System API endpoint as shown (do not add add https:// or the path after the url)
eg. europe-demo-24.topdesk.net
The api key will be of this form:
account:generated_application_key
Once you have entered the correct information on the Helpdesk Buttons page, make to click Update so it saves the changes.
Test by submitting a ticket using the button.
Integration Defaults
You can customize your integration by setting some defaults for the ticket fields.
Anti-Virus and AntiMalware
It is not always necessary, but we recommend whitelisting the tier2tickets installation folder (C:\Program Files(x86)\tier2tickets). We regularly submit our code through VirusTotal to make sure we are not getting flagged, but almost all AV/M interactions cause some sort of failure. Webroot in particular can cause issues with screenshots.
Dispatcher Rules
This is the list of variables that can be accessed when using the Dispatcher Rules.
| Read/Write | Read Only |
|---|---|
| priority | selections |
| processingStatus | name |
| entryType | |
| callType | ip |
| msg | mac |
| subject | hostname |
| impact | |
| urgency | |
| operator | |
| append | |
| callStatus | |
| category | |
| subcategory |
Field Definitions
Setting up a Callback (Webhook)