Set Shortcut
You can set the shortcut via commandline as you install the Tier2Tickets/Helpdesk Buttons software. If you need to update after deployment, these are some methods for doing so.
From the Device Management Page
You can find a tool that will send a command to change your shortcuts on the users desktop on our Device Management page.
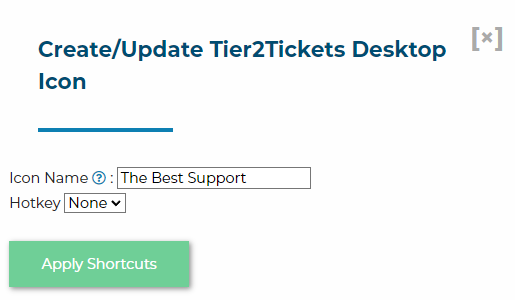
If the icon is on the desktop and the icon’s name matches with the deployment, it will be replaced. Otherwise a new icon will be added to the desktop.
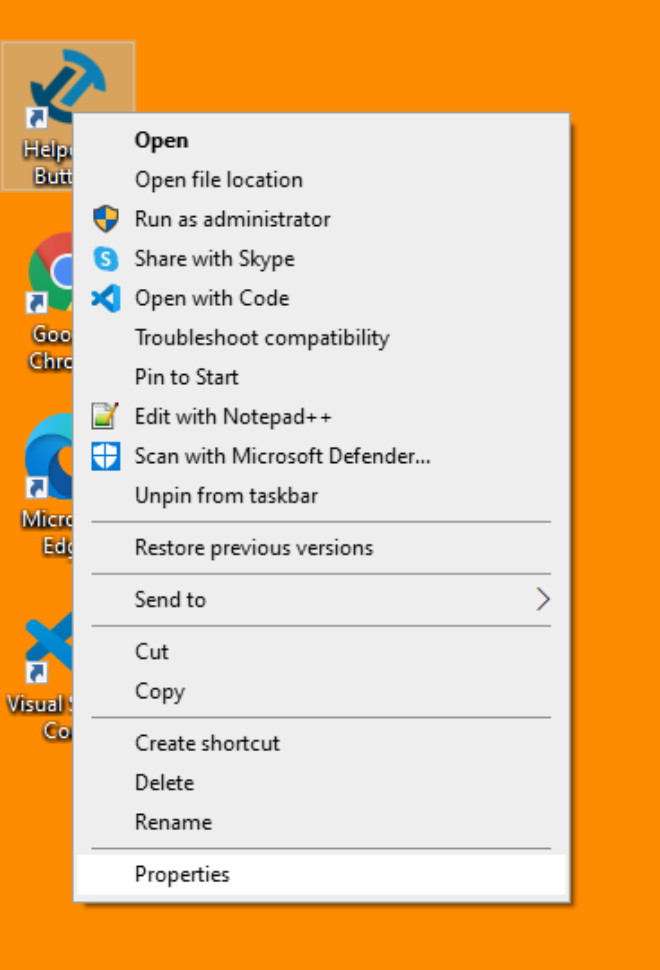
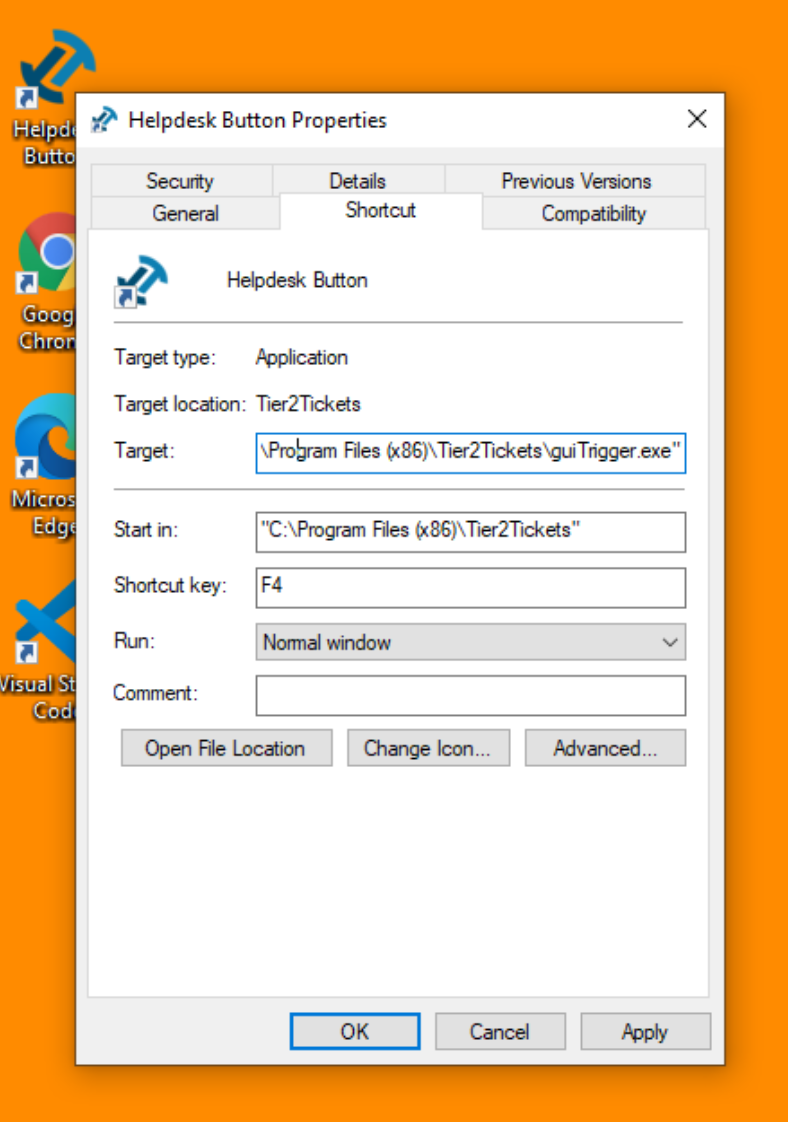
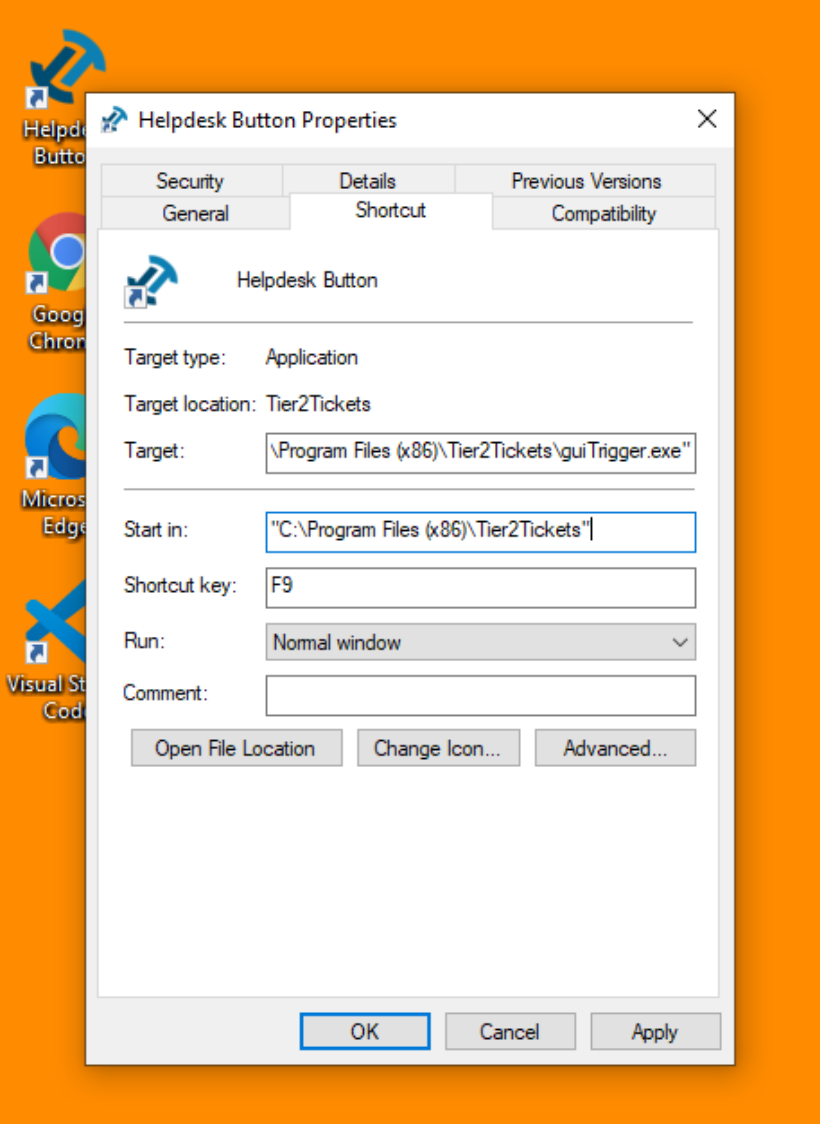
For a Single Device (Manual)
If your predetermined shortcut key isn’t working for a specific user, you can change that combination in the Desktop Shortcut Properties menu.
For Multiple Devices (Powershell)
The syntax for this PowerShell function is simple: You just list the things you want to change about a shortcut after passing in the shortcut path, i.e. :
Set-Shortcut linkPath hotkey location arguments targetPath
If you only want to change the shortcut you can leave the rest blank so the command will look like this:
Set-Shortcut C:\Users\Public\Desktop\"Helpdesk Button.lnk" f11
function Set-Shortcut {
  param(
  [Parameter(ValueFromPipelineByPropertyName=$true)]
  $LinkPath,
  $Hotkey,
  $IconLocation,
  $Arguments,
  $TargetPath
  )
  begin {
	$shell = New-Object -ComObject WScript.Shell
  }

  process {
	$link = $shell.CreateShortcut($LinkPath)

	$PSCmdlet.MyInvocation.BoundParameters.GetEnumerator() |
	  Where-Object { $_.key -ne 'LinkPath' } |
	  ForEach-Object { $link.$($_.key) = $_.value }
	$link.Save()
  }
}
To Remove a Hotkey
To remove a Hotkey from use, follow the above process and instead of setting a function key, set the key to null, as following:
Set-Shortcut C:\Users\Public\Desktop\"Helpdesk Button.lnk" ""