Autotask Documentation
This guide will show you how to set up your new Helpdesk Buttons with Autotask in as few as 15 minutes. You will need an administrative login for Autotask.
Integration
Autotask integration requires three main parts:
1) set up the API integration.
2) set up an unregistered user as a catchall account as a contact in your PSA
3) configure helpdeskbuttons account.
Video Walkthrough
1) API User
The first step involves configuring an API user in Autotask.
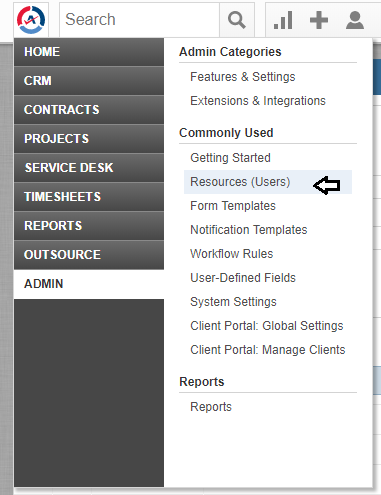
In the main Autotask menu, select Admin and then Resources.
Click the ‘New’ button to open the new user window.
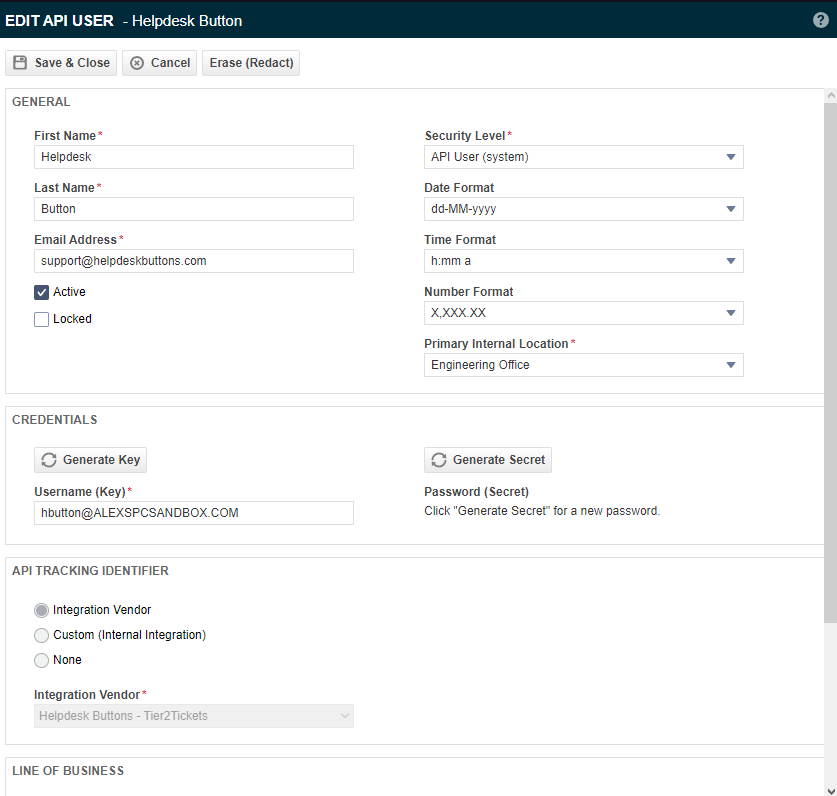
Set up the account as normal. Make sure that the Security Level is set to ‘API User (System)’, and the Integration Vendor in the API Tracking Identifier section is set to ‘Helpdesk Buttons - Tier2Tickets’. Also take note of the username and the password since you will need them later.
2) Unregistered User
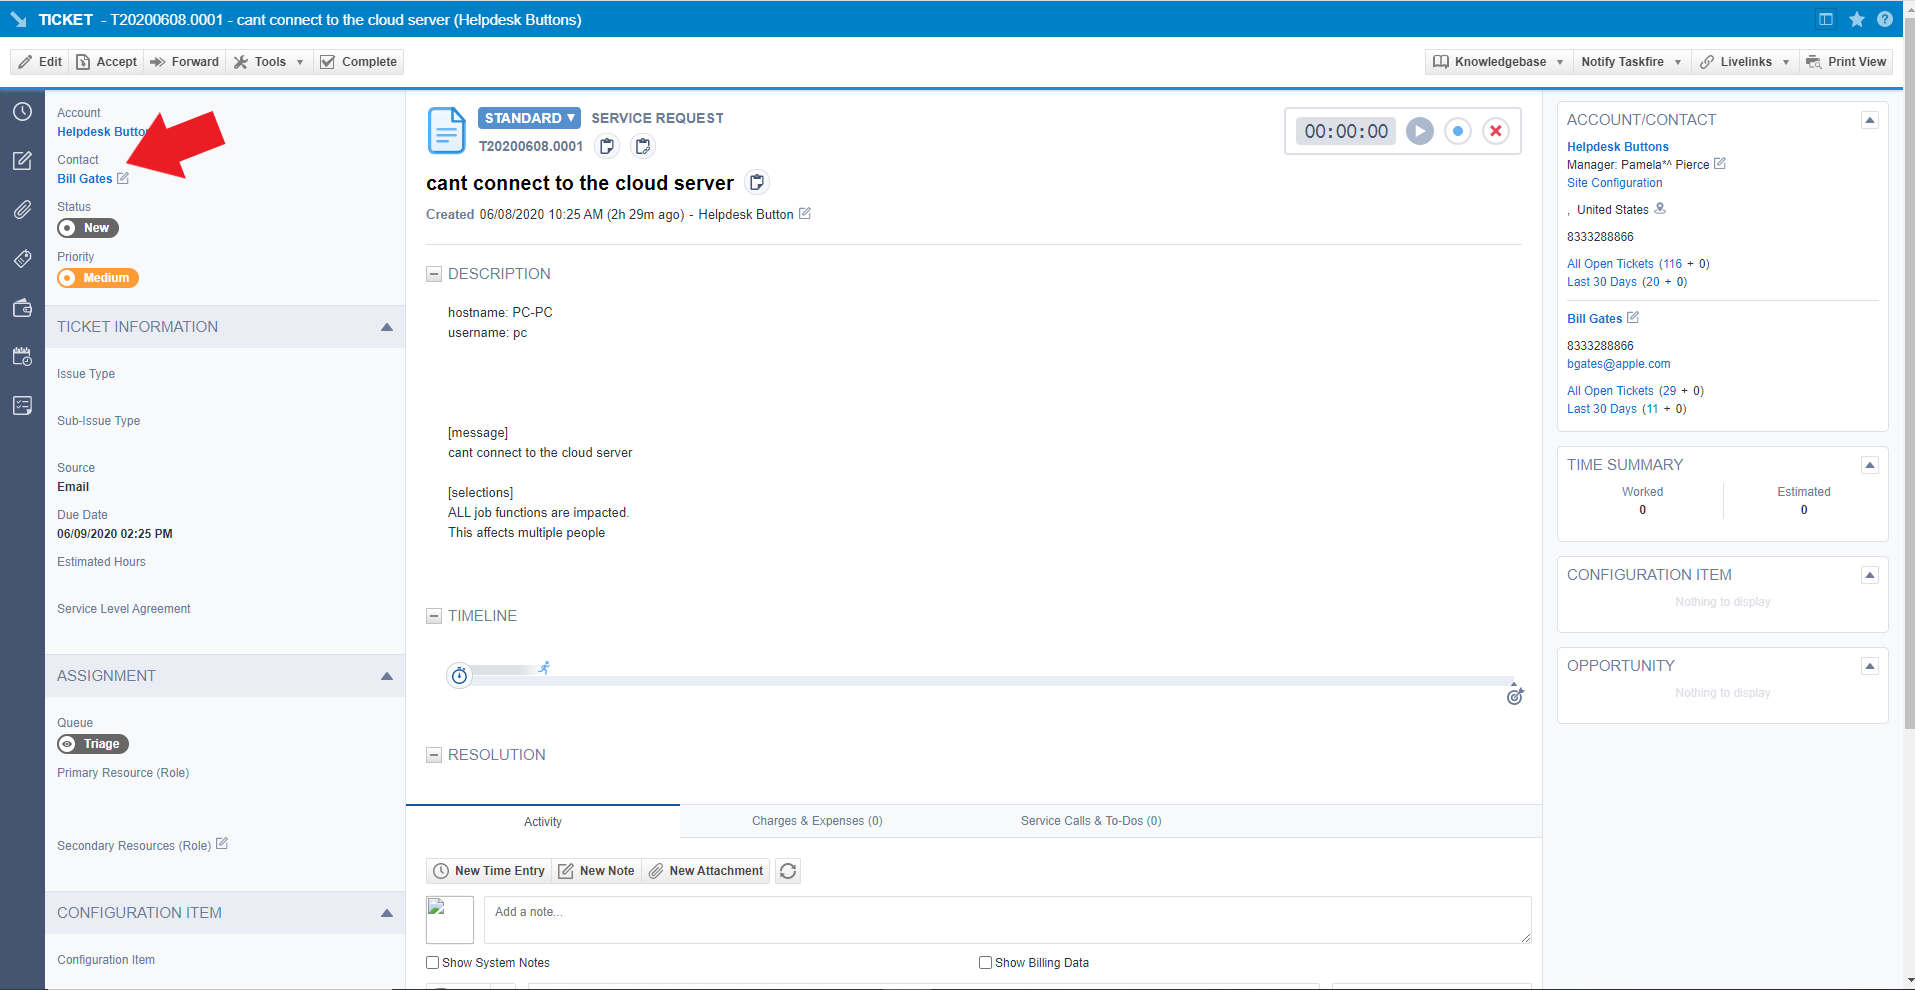
You will also have to create a contact for any unregistered users to show up as when they submit a ticket.
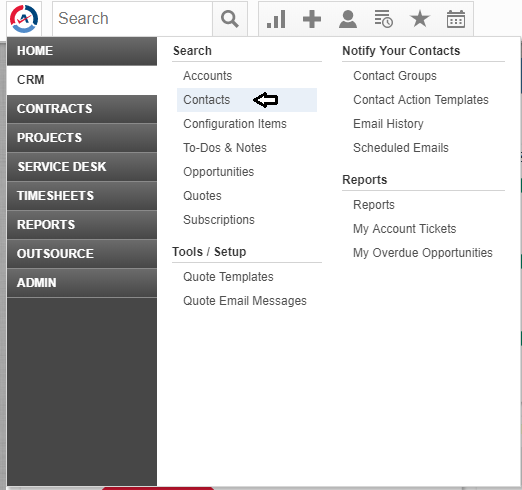
Open the contacts page.
Click the ‘New’ button to create this contact.
Set the First name to be ‘Unregistered’ and the last name to be ‘User’ like shown
Also set the Email Address for this contact to be ‘unregistered@helpdeskbuttons.com’ like shown

When you are finished, click ‘Save and Close’.
With that finished, now you will need to configure your information on the Helpdesk Button website.
3) Helpdeskbuttons.com Settings
Log into your account and browse to Settings or go to https://account.helpdeskbuttons.com/backend Under the Ticket System dropdown, select Autotask
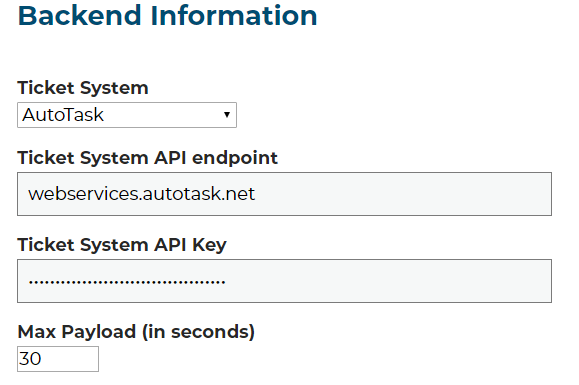
Enter your Ticket System API endpoint as shown (do not add add https:// or the path after the url)
Your Ticket System API key is in the format of ‘username@domain:password’
For instance in our example, the username for the API account we created earlier is tier2tickets@alexspcsandbox.com and we set the password to 1SuperSecurePassword@MG.
This would result in the Ticket System API key being formatted like
tier2tickets@alexspcsandbox.com:1SuperSecurePassword@MG
Once you have entered this information, click Update.
At this point, the integration should be working. You can test this by pressing the button and submitting a ticket.
If you have trouble, give us a call and we can remote in and help you (833) 328-8866
API Access Settings
For those of you who want to restrict the access the API user has, here is the security access we need: (a custom security level will need to be created and assigned to us with these permissions):
- CRM/Customer & Cancelations/Permission - All (For checking user and company data like address and email addresses)
- Service Desk/Tickets/View - All
- Service Desk/Tickets/Add - Yes (Creating tickets)
- Service Desk/Tickets/Edit - Yes (Adding Notes to tickets)
Anti-Virus and AntiMalware
It is not always necessary, but we recommend whitelisting the tier2tickets installation folder (C:\Program Files(x86)\tier2tickets). We regularly submit our code through VirusTotal to make sure we are not getting flagged, but almost all AV/M interactions cause some sort of failure. Webroot in particular can cause issues with screenshots.
Dispatcher Rules
This is the list of variables that can be accessed when using the Dispatcher Rules.
Unless otherwise stated, using the plain text exactly as it appears on the ticket should work for setting the variables in the dispatcher rules.
| Read/Write | Read Only |
|---|---|
| priority | selections |
| ticketStatus | contactName |
| queue | |
| type | ip |
| msg | mac |
| subject | hostname |
| append | businessName |
| priv_append | |
| source | |
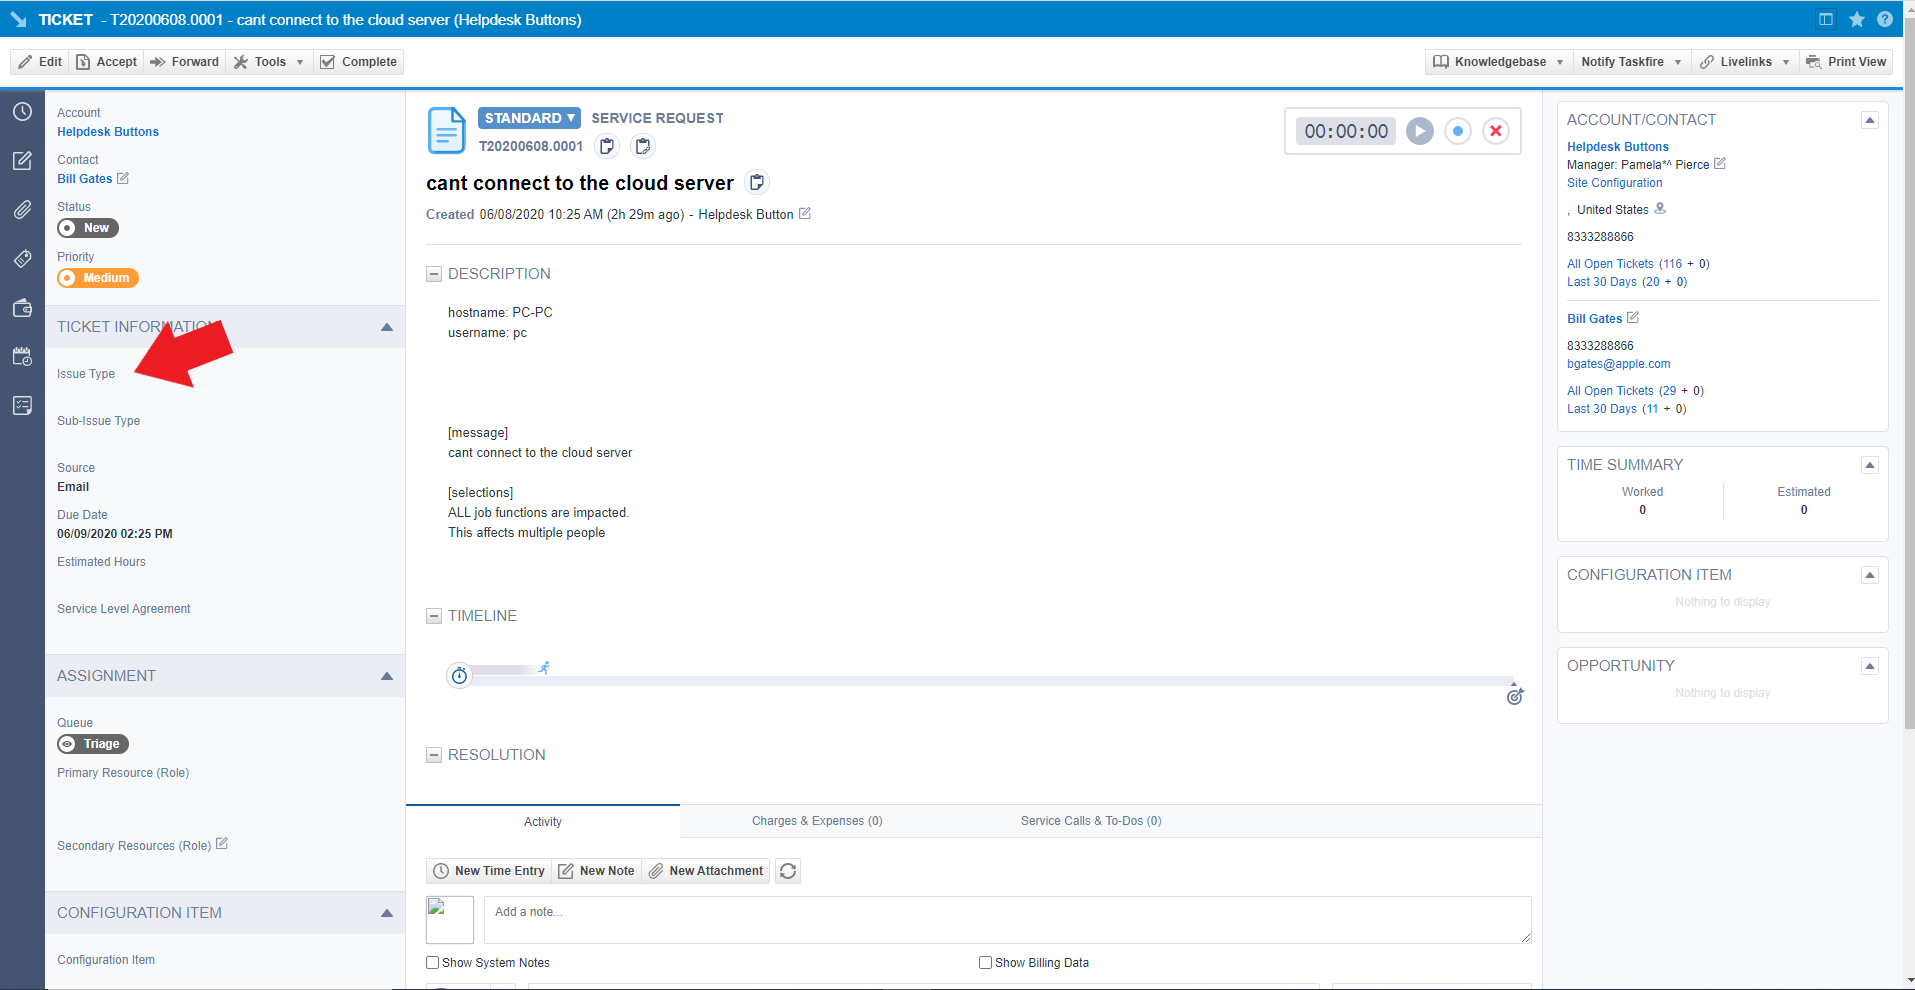
| issue | |
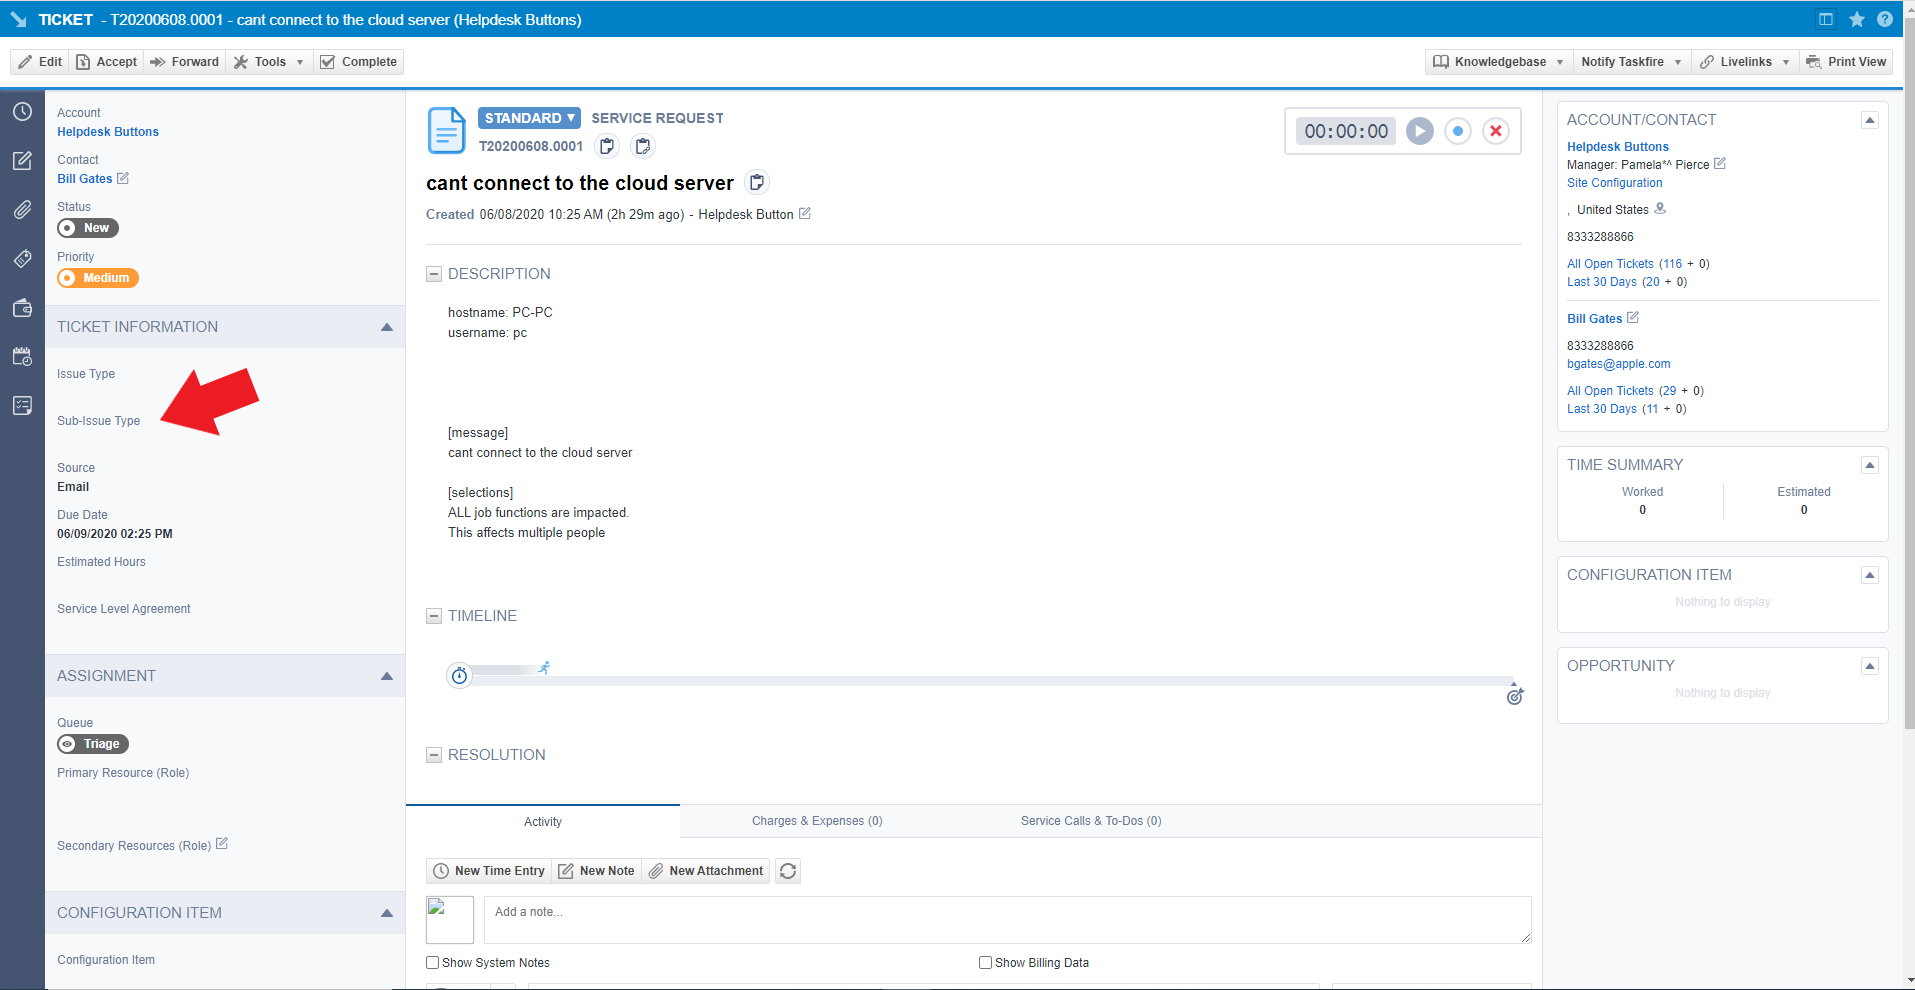
| subissue | |
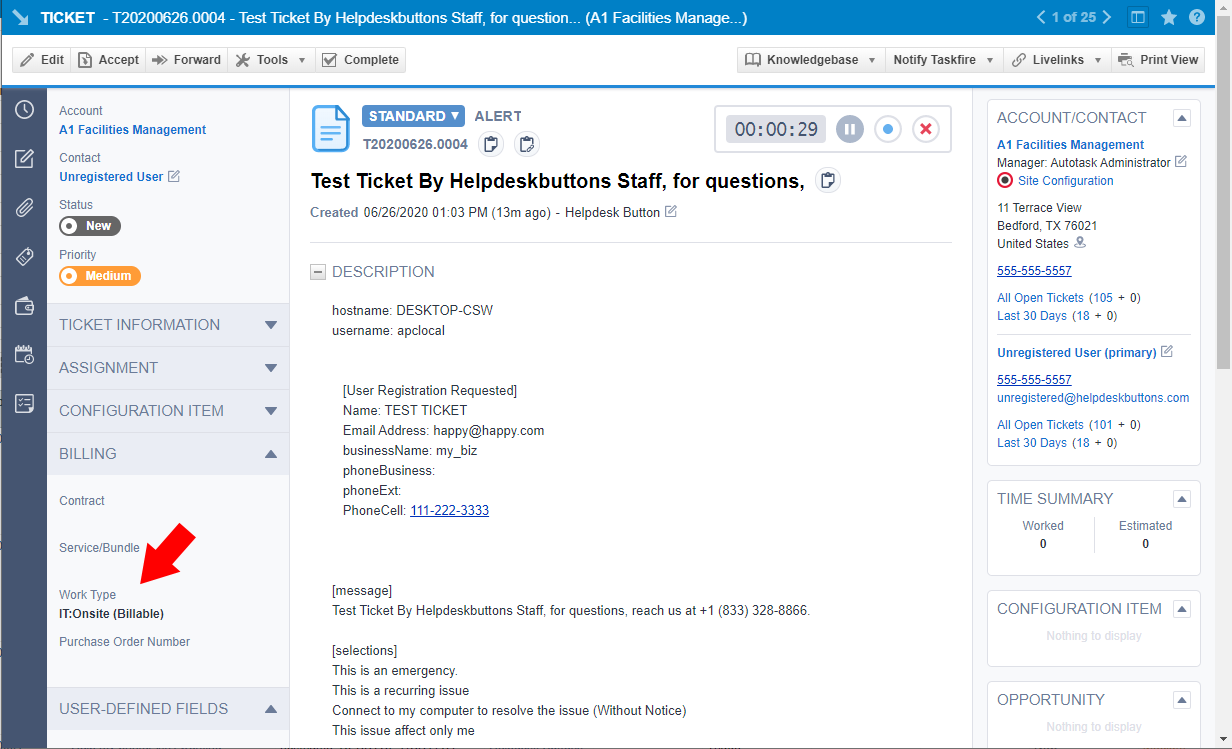
| worktype | |
| category |

Setting up Webhooks
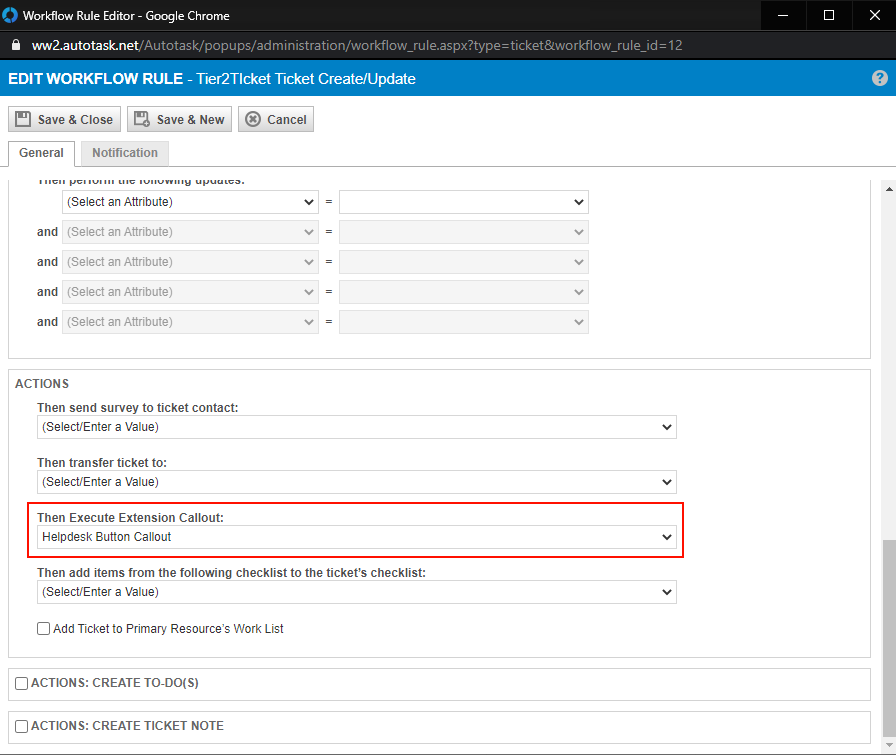
Autotask does not yet have webhooks for ticket events, but we can simulate this functionality by setting up an Extension Callout and a couple of Workflow Rules.
Extension Callout
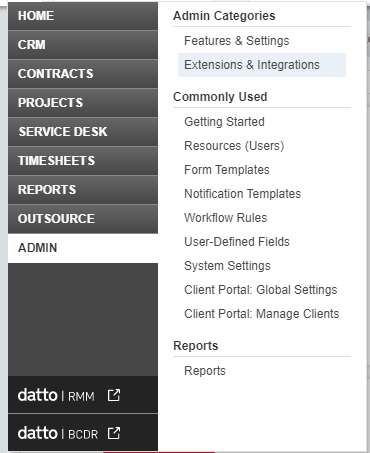
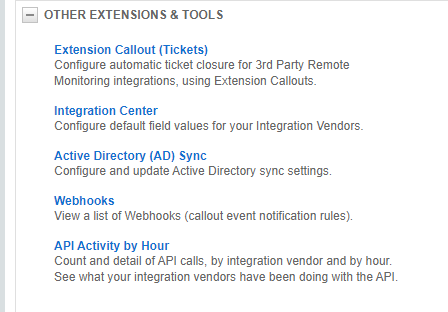
First head to Admin -> Extension & Integrations -> Other Extensions & Tools -> Extensions Callout (Tickets)
Click New Extension Callout
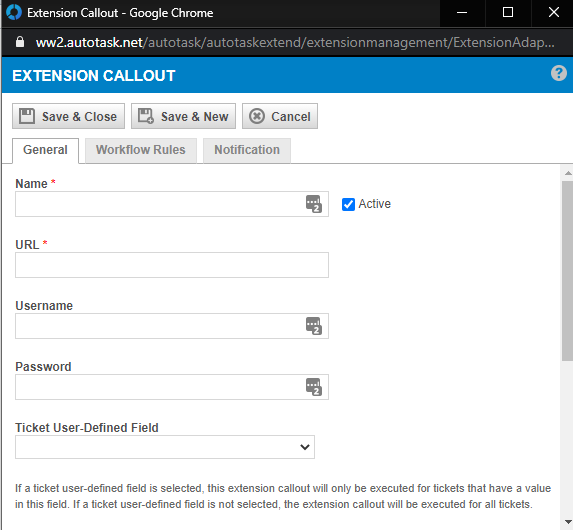
- Name the callout and make sure it is set to active.
- URL should be listed on your Integration Settings Page. under the Ticket Notification section.
- No Username or Password is needed for our API
- HTTP Transport Method should be POST
- Data Format should be Name Value Pair
Workflow Rules
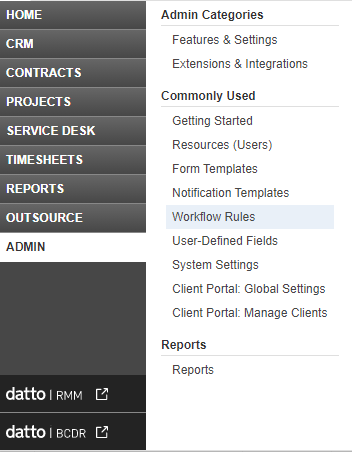
Navigate to Admin -> Workflow Rules
You will want to create two rules one for Ticket Creation and Update and another for Ticket Notes
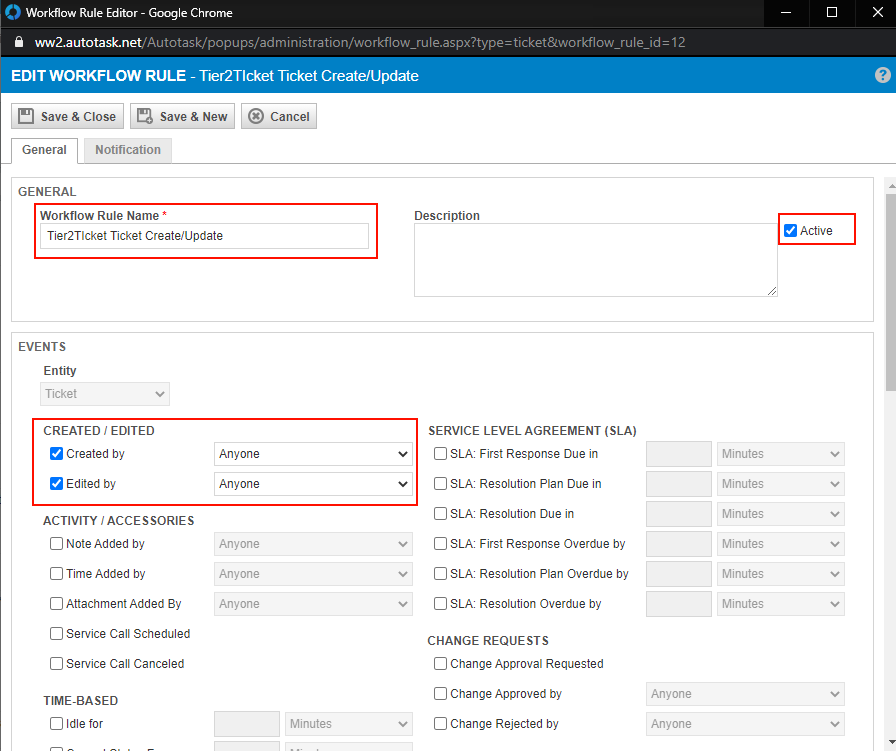
New Ticket/Ticket Updated
Here is an example of a workflow that sends when a ticket is created/updated by anyone
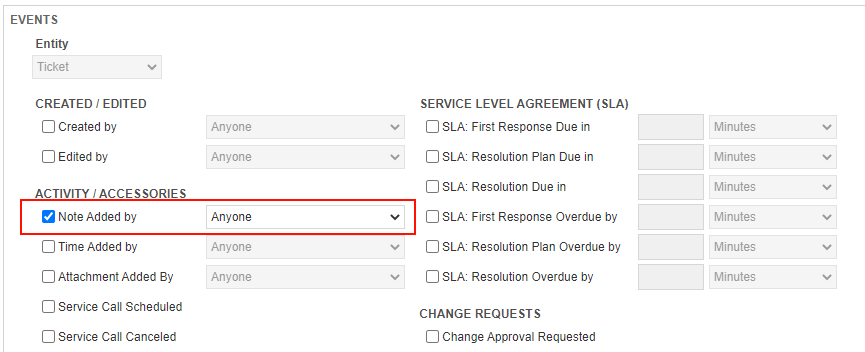
Note added to ticket
Create another workflow rule but for the EVENT select Note Created by anyone
Make sure to set the action to the same callout as the first.