HaloPSA/ITSM Documentation
This guide will show you how to set up your new Helpdesk Buttons with HaloPSA/ITSM in as few as 15 minutes.
Integration
HaloPSA/HaloITSM integration requires three main parts:
1) set up an unregistered user as a catchall account as a contact in your PSA
2) set up the API integration.
3) configure helpdeskbuttons account.
Video Walkthrough

1) Unregistered User
You will start off by logging into your HaloPSA/ITSM instance.
Create an ‘Unregistered’ contact This must have the email address unregistered@helpdeskbuttons.com. You can add this contact to the default Unknown Company/Site
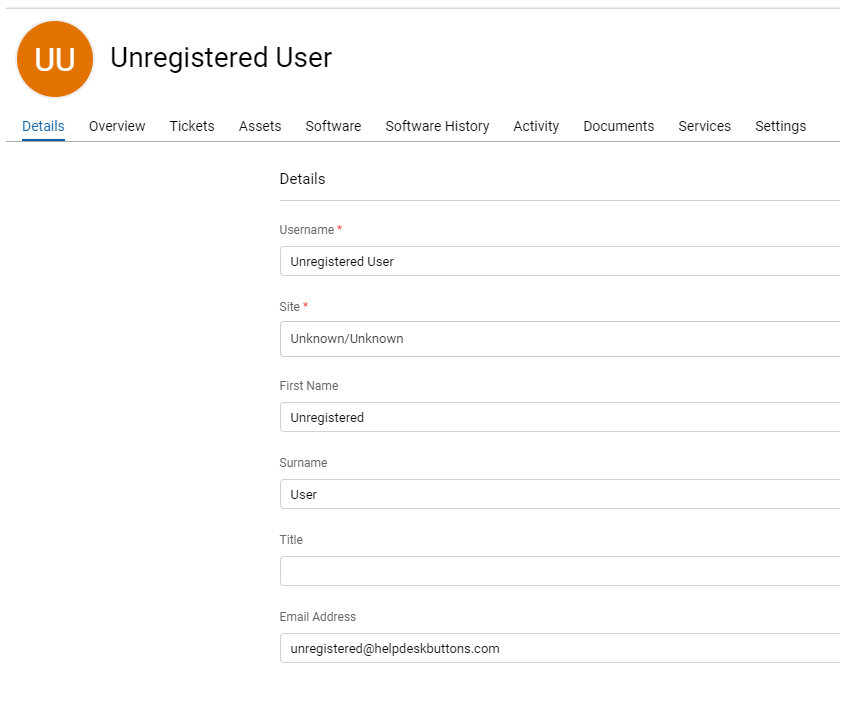
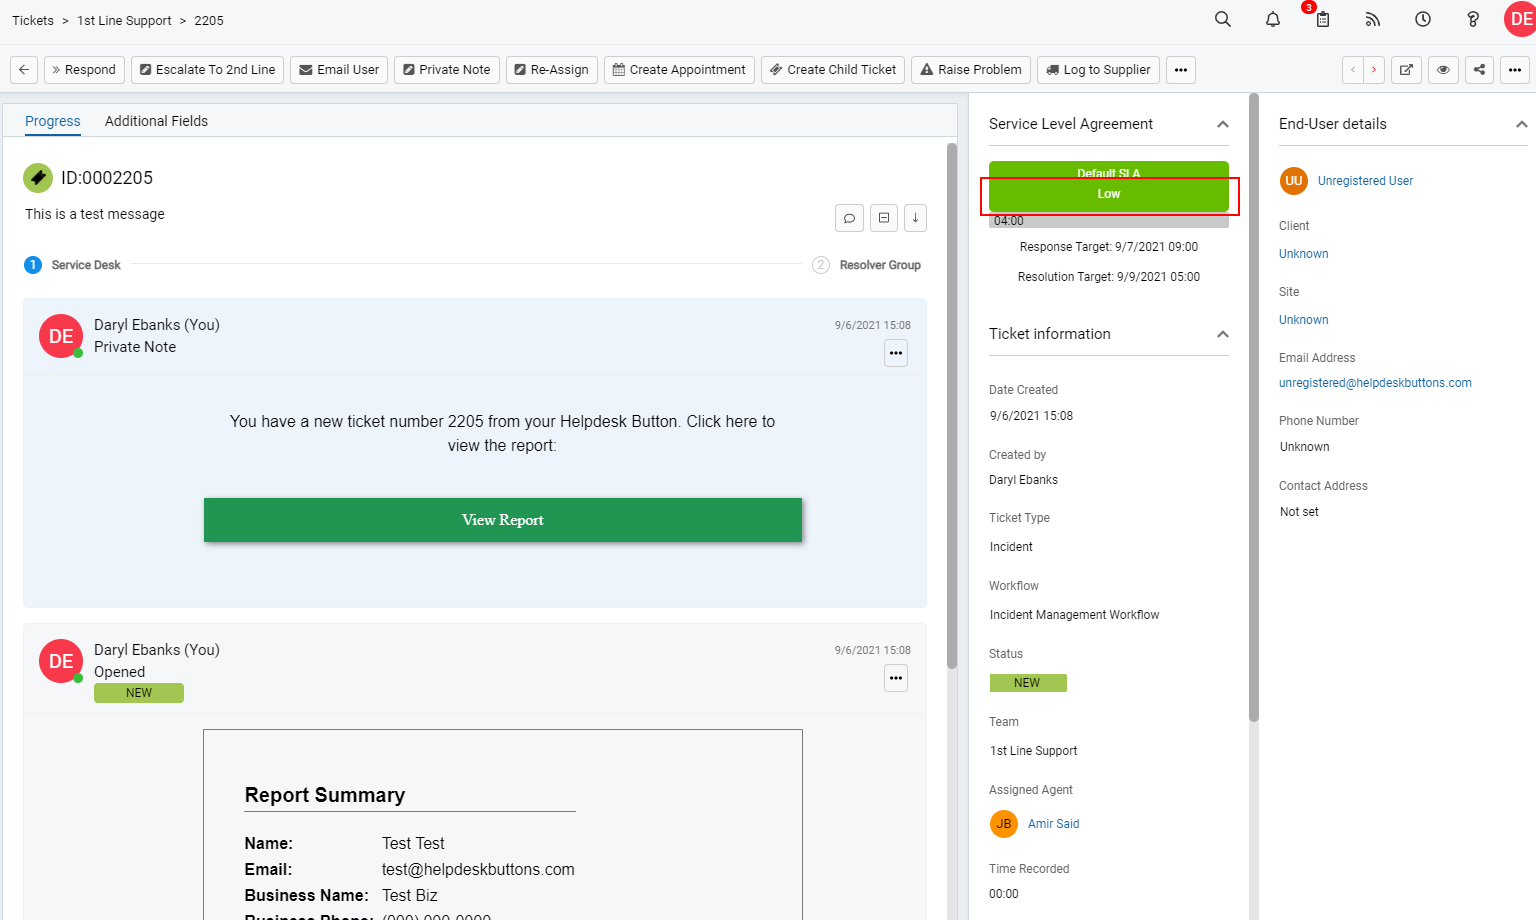
This is the user which any Button Press tickets appear to come from if the user is unregistered. Remember to click save.
You are now done setting up your company and contact.
2) Get an API Key
Next step is to create an API key. Navigate to Configuration > Integrations > Halo(PSA/ITSM) API
Here you can find most of the information you need as well as create a new application key You will need the tenant, resource server and authentication server from this first screen.
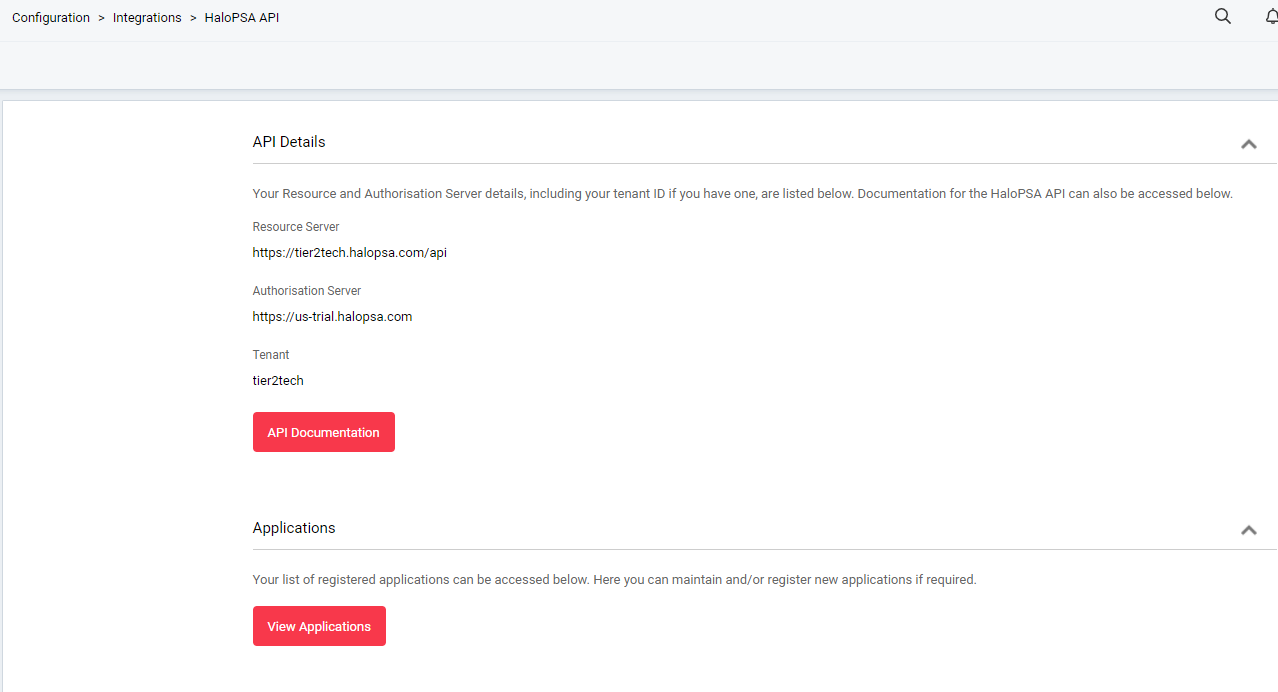
Now click Applications, then New at the top right corner. You can name the key whatever you like, but make sure to collect Client ID and Secret as the Method.
Make sure the key is set to be active.
For permissions we will need at least the following five (5) selections:
- read:tickets
- edit:tickets
- read:customers
- read:crm
- read:assets
The Login Type should be Agent. and select an Agent that the tickets will be put into the system as (if none is selected several lookups will fail preventing the integration from working properly)
When you save, you should be given a Client ID and a Client Secret. Keep them in a safe place as the secret cannot be viewed again (a new one can be generated)
Once this has been set up, you will have all the information required.
3) Helpdeskbuttons.com Settings
Log into your Helpdeskbuttons.com account. Select Software Management > Integration Settings.
Select ‘HaloPSA/HaloITSM’ for the ticket system. Select if you are using an On-Prem or Cloud Hosted instance.
Provide the authentication server and API server information. Copy and paste them as they are shown in the API Details.
The “Resource Server” should go in the Ticket System API endpoint slot and the “Authorisation Server” goes into the Ticket System Authorization Server slot.
Finally put in the API key in the following form depending on your instance type whether On-Prem or Cloud Hosted:
Cloud Hosted
tenant+client_id:client_secret
Here are the components and what they mean:
Comp_a+123asd4asabcd:asdf38judj234
Comp_a is the tenant shown in Halo
123asd4asabcd is the example client_id for the API
asdf38judj234 is the example client_secret for the API
Make sure that there is a + between the tenant and a : between the client id and client secret.
On Prem
client_id:client_secret
Here are the components and what they mean:
123asd4asabcd:asdf38judj234
123asd4asabcd is the example client_id for the API
asdf38judj234 is the example client_secret for the API
Make sure that there is a : between the client id and client secret.
Once you have entered the correct information on the Helpdesk Buttons page, make to click Update so it saves the changes.
Integration Defaults
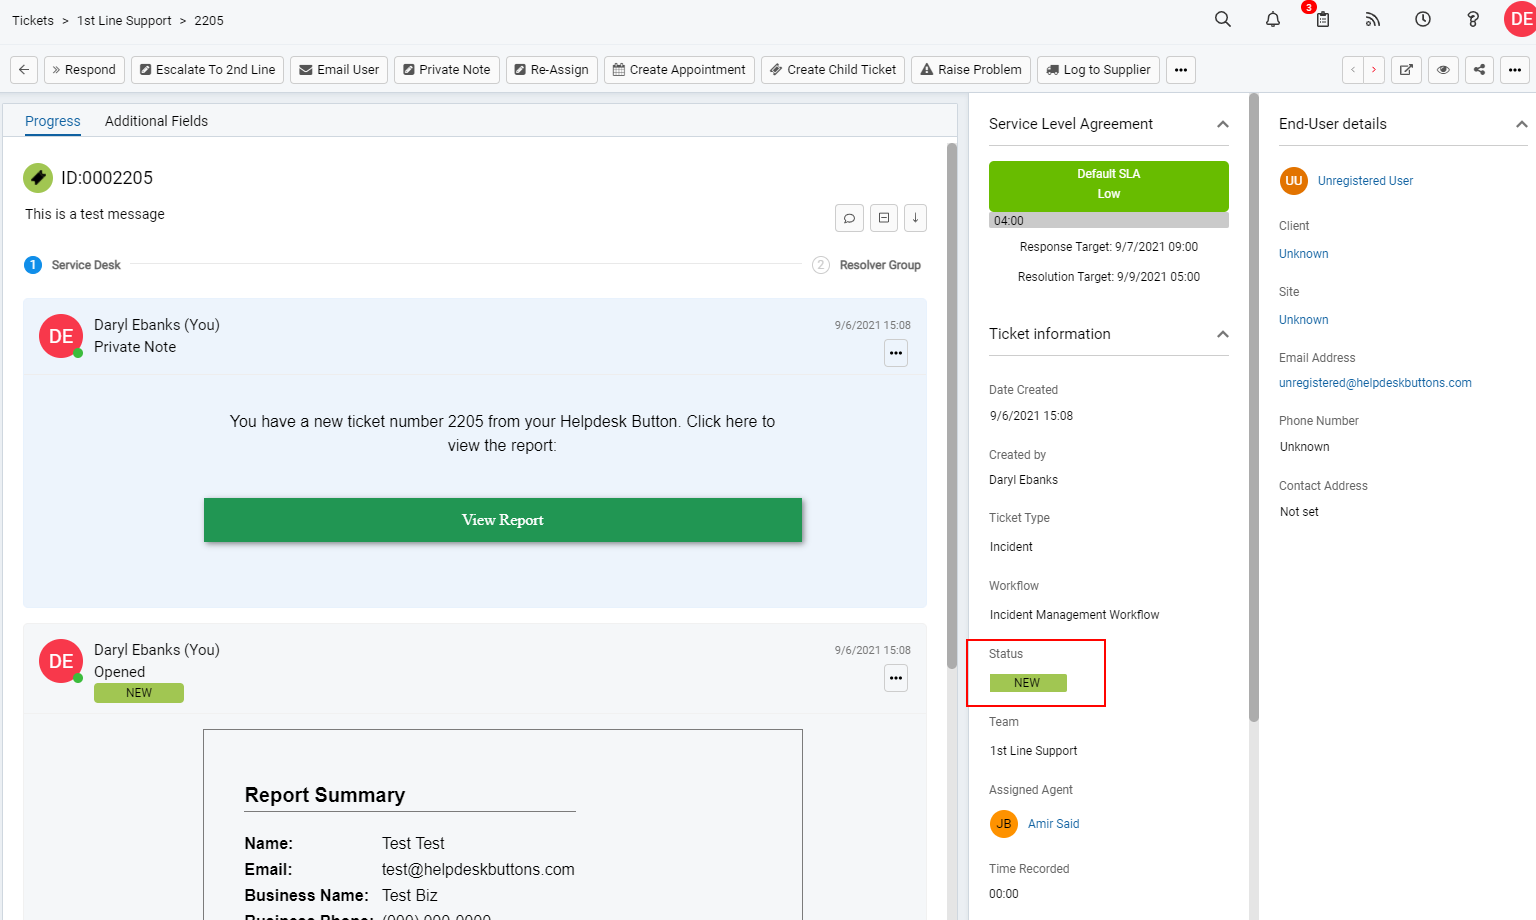
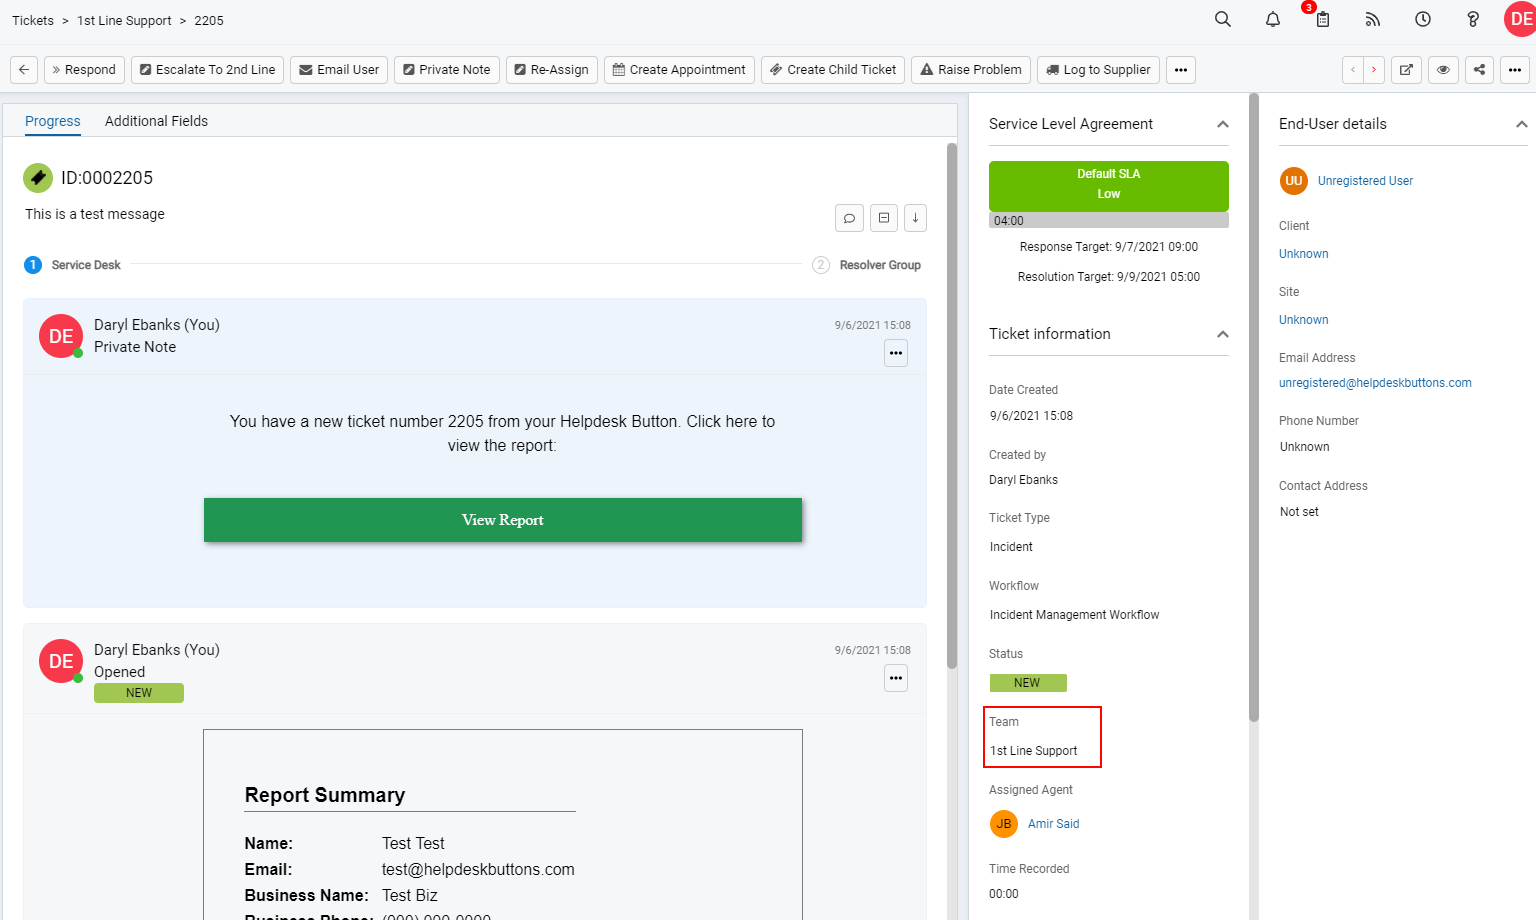
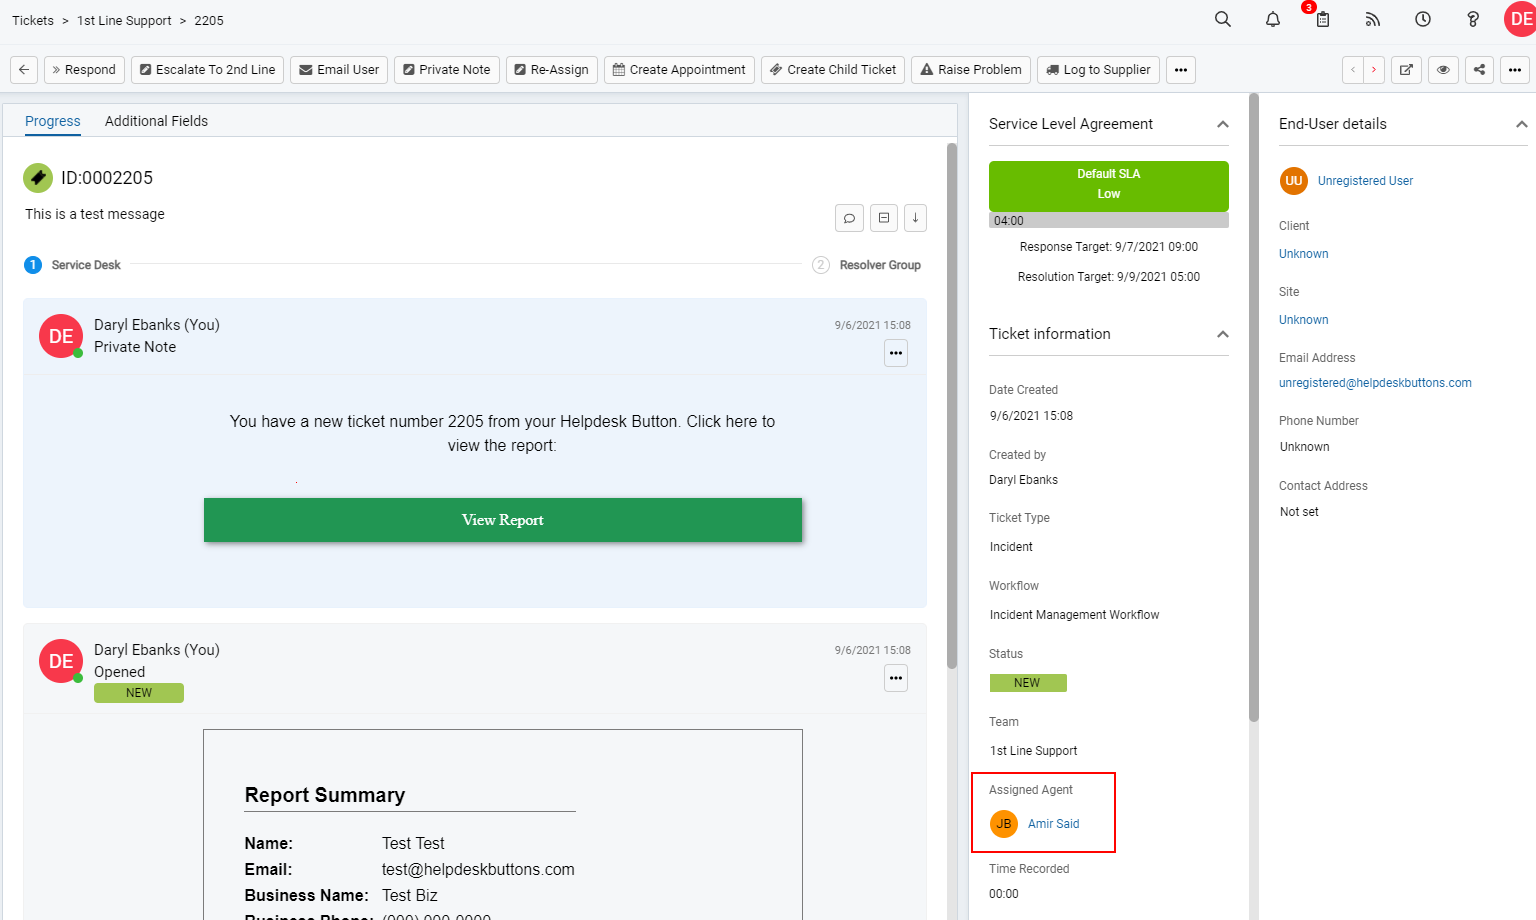
For most integrations you can leave these blank and the PSA/Ticket System will fill in some defaults. For HALO specifically setting the agent to Unassigned will stop the agent set in the integration from being assigned every ticket by default. Newer Halo instances have impact and urgency fields that are mandatory. Set these to an integer that increases in severity the lower it is. By default setting both these to 3 will default to LOW. If your instance also needs the Category set, you fill this out in category_1. You can type out the name of a category in the first entry in the Categorization section: Hardware>Desktop is normally a good default.
Anti-Virus and AntiMalware
It is not always necessary, but we recommend whitelisting the tier2tickets installation folder (C:\Program Files(x86)\tier2tickets). We regularly submit our code through VirusTotal to make sure we are not getting flagged, but almost all AV/M interactions cause some sort of failure. Webroot in particular can cause issues with screenshots.
Dispatcher Rules
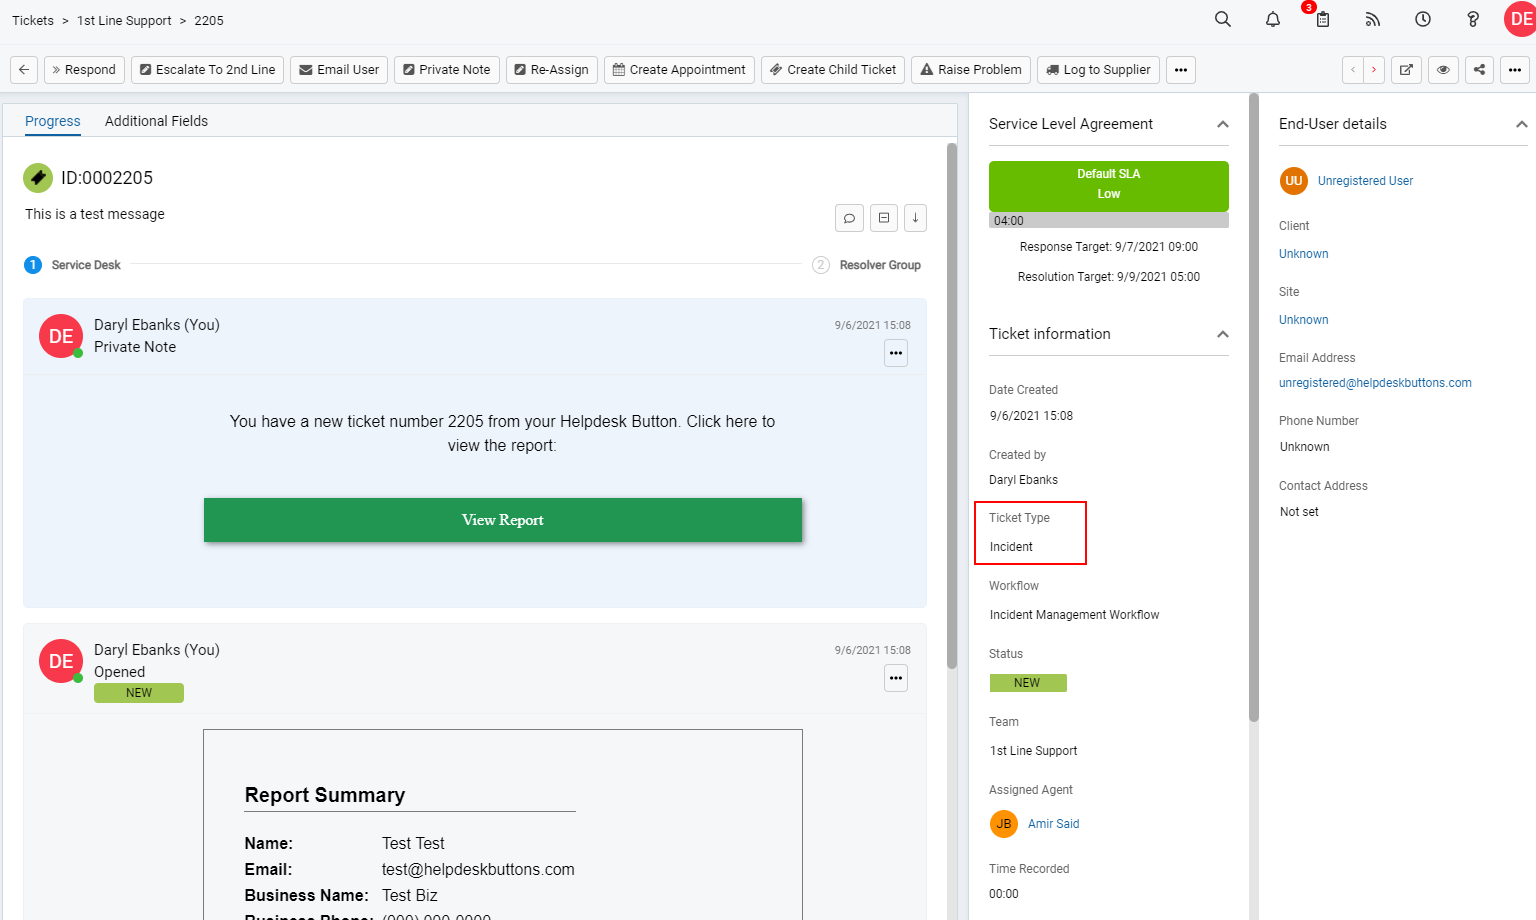
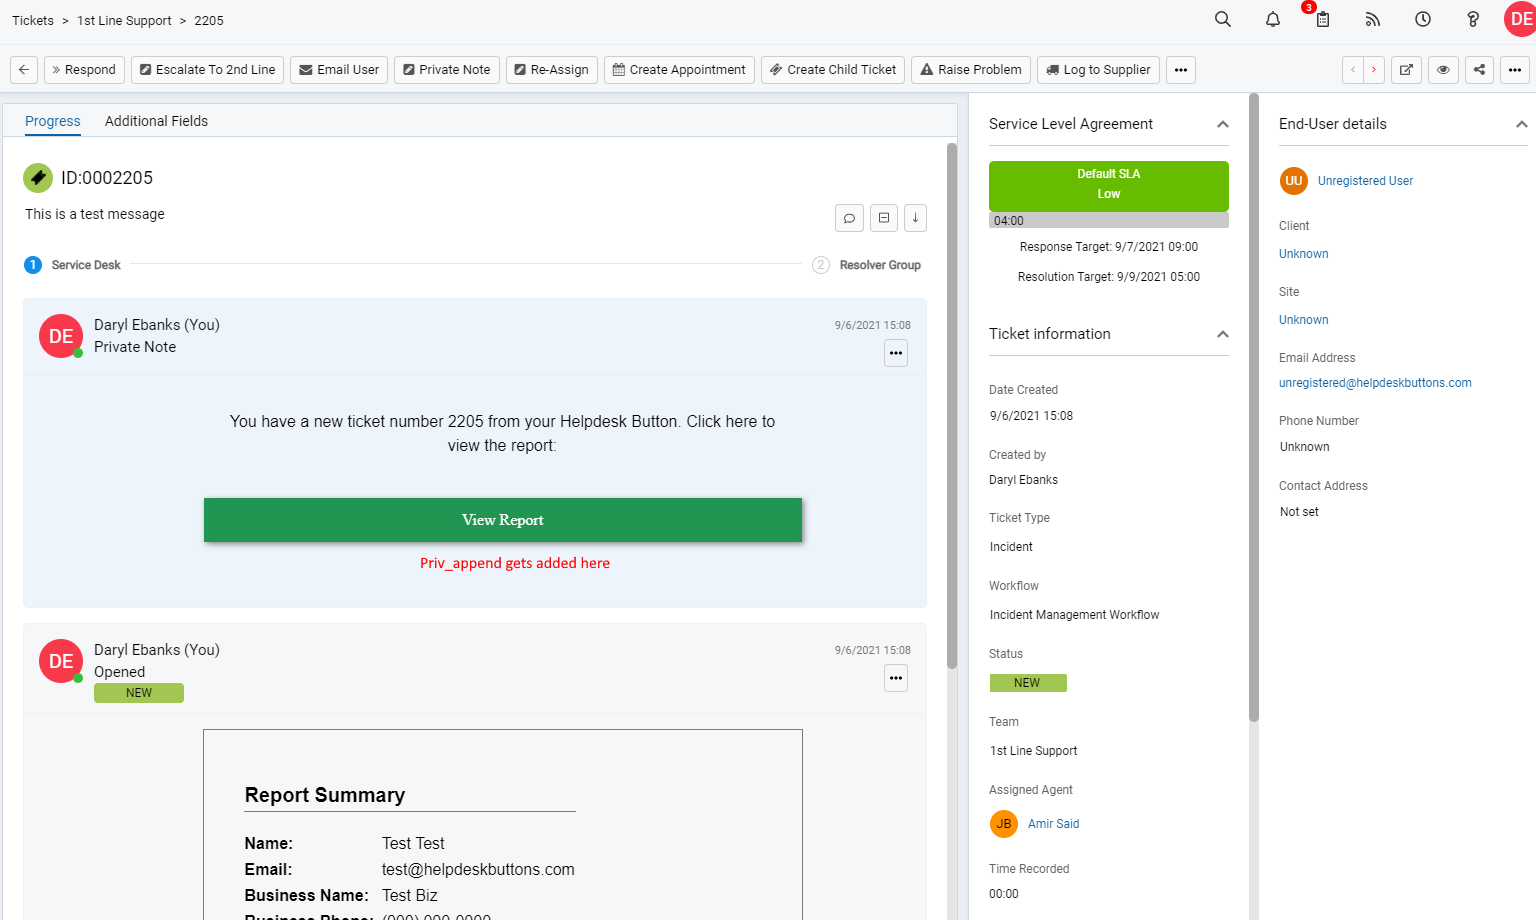
This is the list of variables that can be accessed when using the Dispatcher Rules.
| Read/Write | Read Only |
|---|---|
| priority | selections |
| state | name |
| team | |
| ticketType | ip |
| msg | mac |
| msg | hostname |
| agent | |
| append | |
| category_# |
Setting up a Webhook
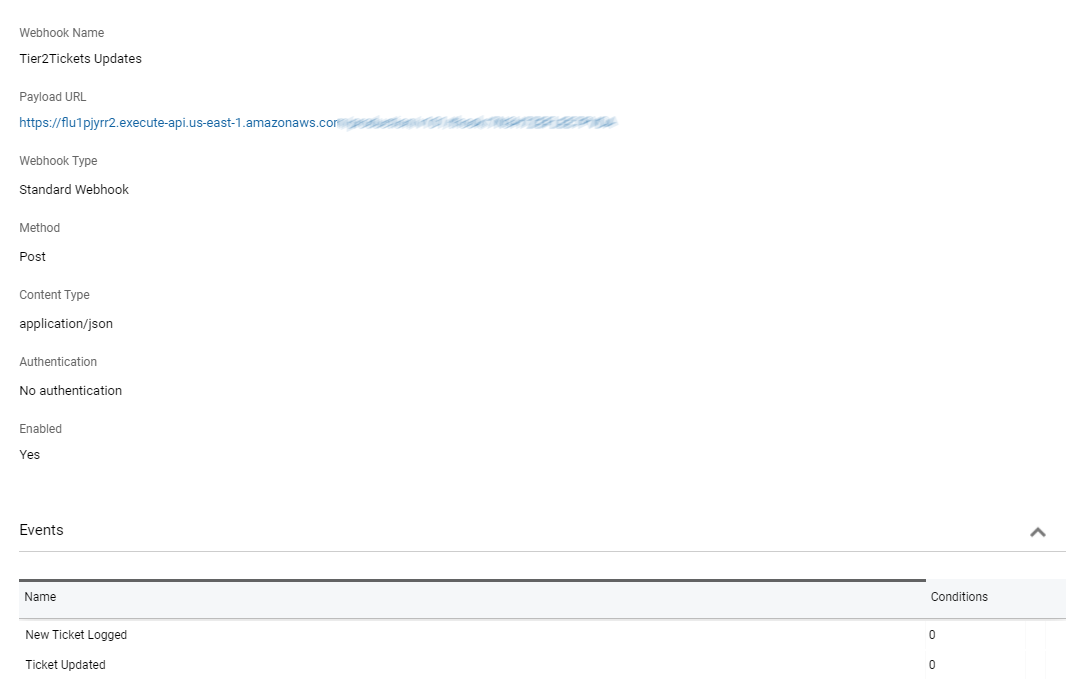
To configure the webhooks for Notifications, navigate to the webhook section of Halo. (Configuration > Integration > Webhooks)
Create a new webhook and name it whatever you like.
Copy and paste the Ticket Notification url from your Tier2Tickets/Helpdeskbuttons Integration or Notification page into the Payload URL.
The dropdown settings should be as follows:
- Webhook Type : Standard Webhook
- Method: POST
- Content Type: application/json
- Authentication: No authentication
- Enabled: Yes
Finally add two events to trigger the hooks: New Ticket Logged and Ticket Updated. Neither of these events require conditions so just hit save after selecting the event.
Once you double check that all the settings are correct, click save and you should be all set. Here is an image of a webhook with all the settings filled in.
