Freshdesk Documentation
This guide will show you how to set up FreshDesk / FreshService to work with your new Helpdesk Buttons in as few as 15 minutes.
Integration
Freshdesk integration requires three main parts:
1) set up an unregistered user as a catchall account as a contact in your PSA
2) set up the API integration.
3) configure helpdeskbuttons account.
Video Walkthrough
1) Unregistered User
By default, our software attempts to pair users with their contact information by checking with Freshdesk. If the user is not already found in the system a catch all account submits the ticket instead. This can be disabled for PSA’s that allow users to create accounts on ticket submission. Look at the Integration Defaults below.
This guide assumes you want to use the catch all contact: To start you will need to set up a contact that uses the email address of “unregistered@helpdeskbuttons.com” for the purposes of catching any unregistered users. You can name the account whatever you want. In our system it’s “Mystery Human”.
2) Getting an API Key
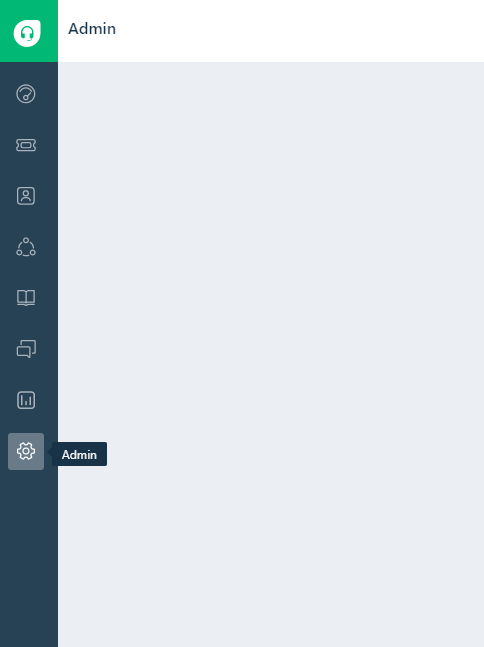
On the left of your screen, click the admin button.
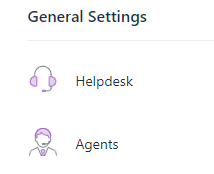
Scroll down and select Agents
Click ‘New Agent

And then fill out the information needed. This account needs the Administrator and Agent Roles roles.
After you have created that account, sign into it and go to the profile. You can get there by clicking your account picture and then selecting profile.
In the upper right, you will see ‘Your API Key’
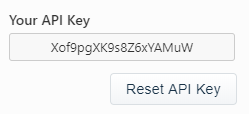
Please take note of this API Key, you will need it in a little bit.
3) Helpdeskbuttons.com Setup
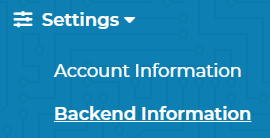
The next step is to sign into your Helpdeskbuttons.com account and enter this information under Settings->Backend Information
Enter your Ticket System API endpoint and the Ticket System API Key. Your Ticket System API endpoint is the main URL that you use to log into FreshDesk / FreshService. In this instance
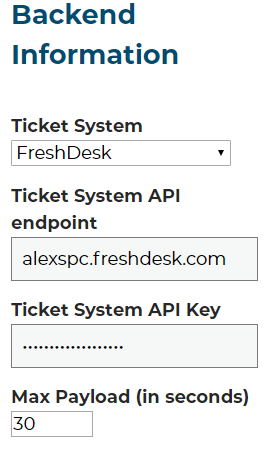
Click update once you are done. At this point, your Freshdesk / FreshService instance will be ready to go with your Helpdesk Buttons.
Access Restrictions
As of 0.5.x: The agent needs to have Administrator and Agent Roles.
Integration Defaults
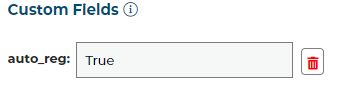
auto_reg
The “auto_reg” flag allows users to be auto_registered by their email address instead of added to an unregistered/catch all user. Keep in mind that if a user mistypes their email they will create a user.
If you want to set auto_reg as an integration default, you can add it as a custom field:

Now hit update to save the changes. It should then look like this:
Anti-Virus and AntiMalware
It is not always necessary, but we recommend whitelisting the tier2tickets installation folder (C:\Program Files(x86)\tier2tickets). We regularly submit our code through VirusTotal to make sure we are not getting flagged, but almost all AV/M interactions cause some sort of failure. Webroot in particular can cause issues with screenshots.
Dispatcher Rules
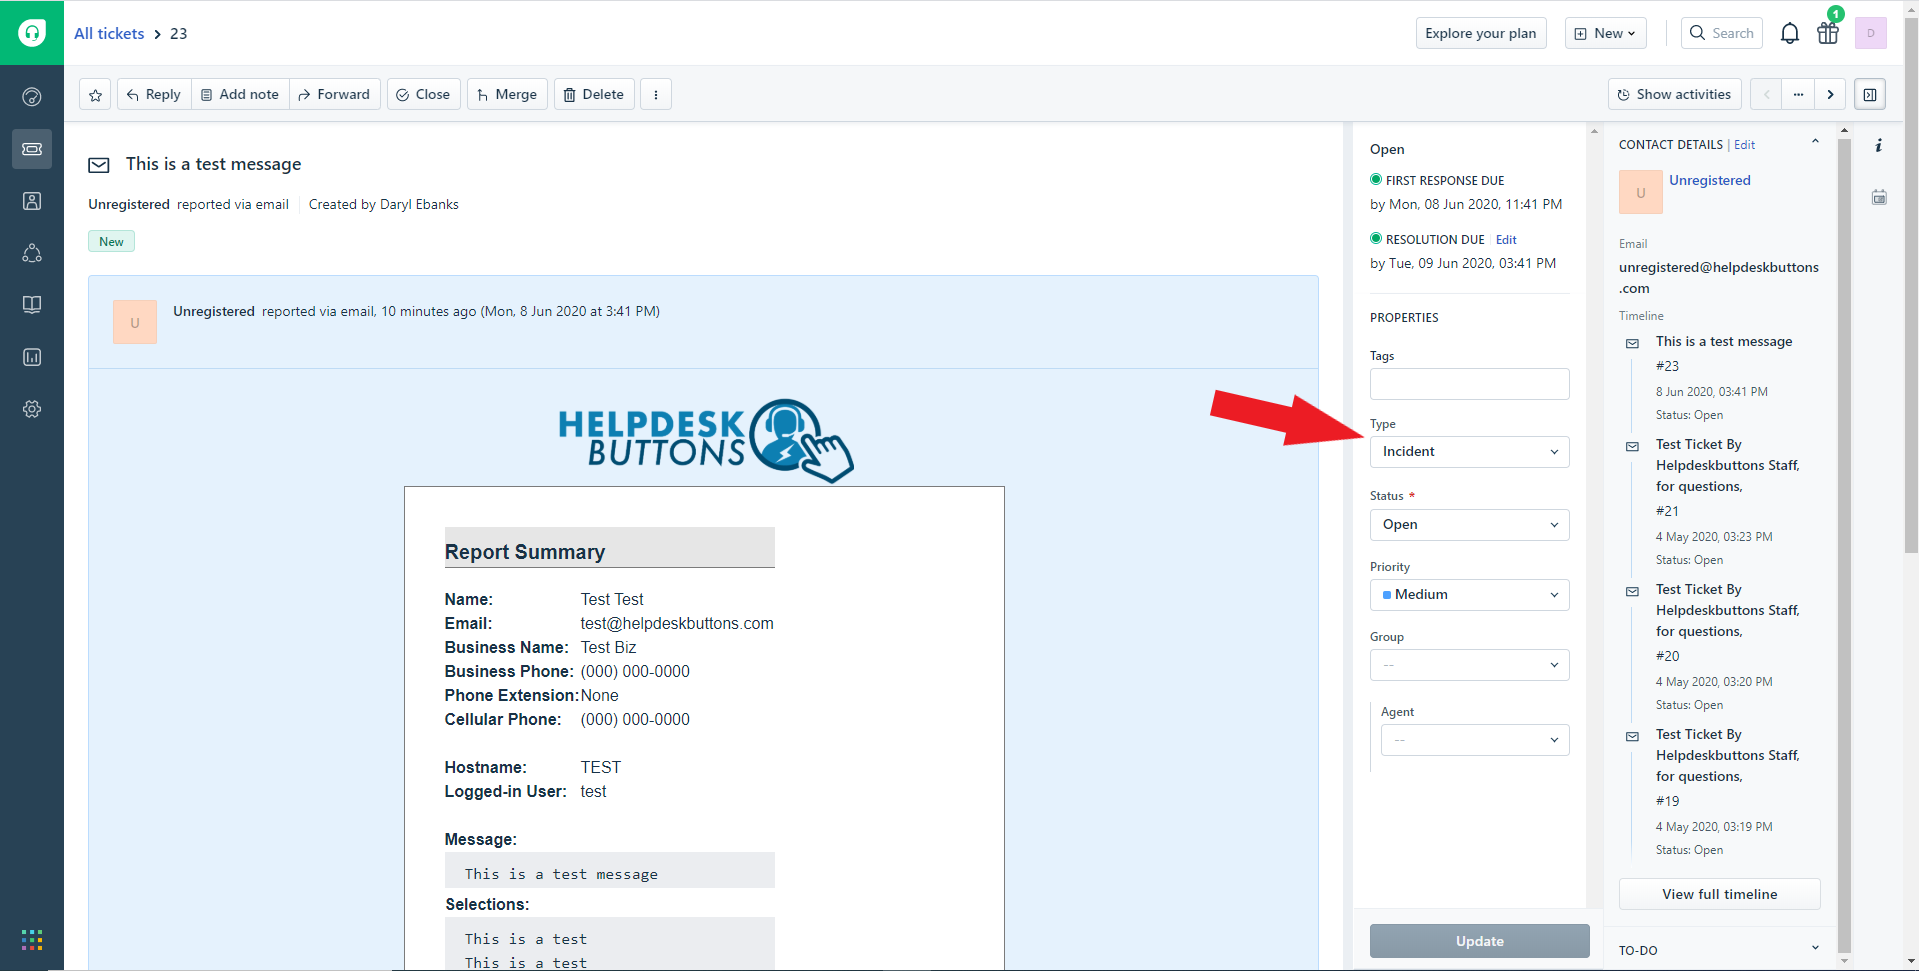
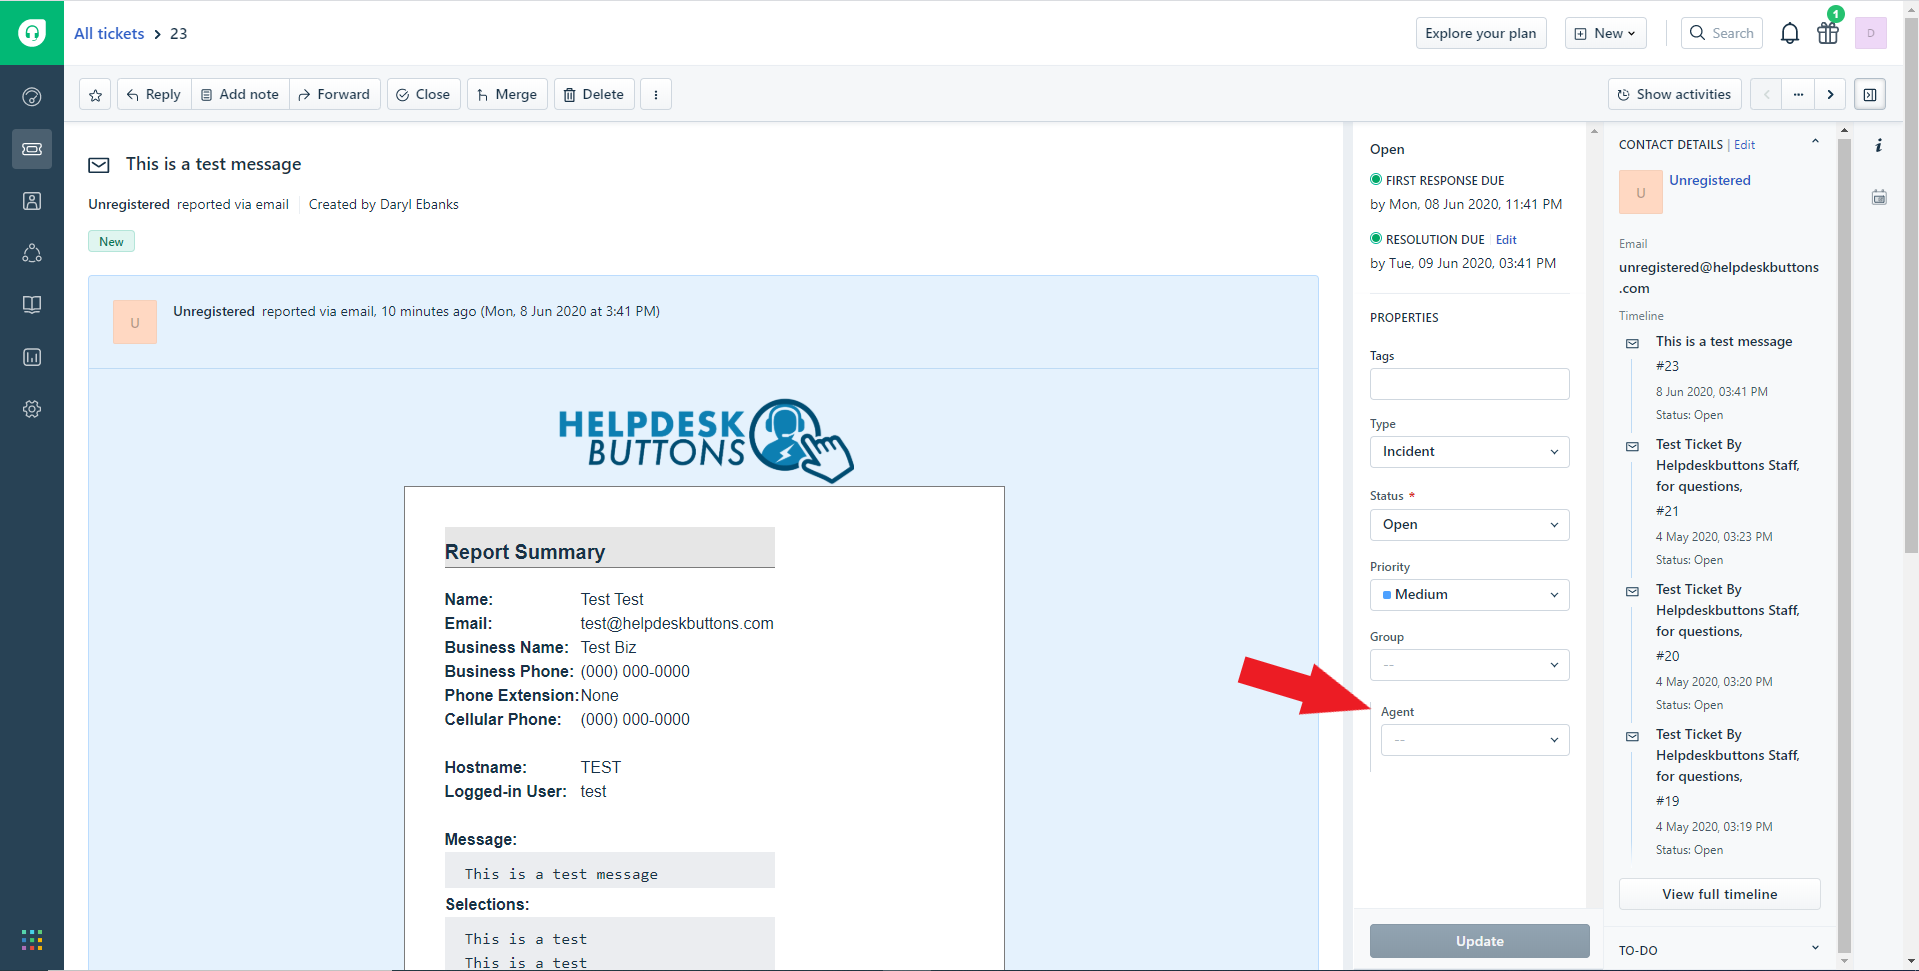
This is the list of variables that can be accessed when using the Dispatcher Rules.
FreshDesk
| Read/Write | Read Only |
|---|---|
| priority | selections |
| status | name |
| group | |
| type | ip |
| msg | mac |
| subject | hostname |
| source | |
| agent | |
| append |
Field Definitions


Webhook Walkthrough
To add a webhook in FreshDesk navigate to: Admin -> Workflow(Automator). Create a new Workflow(Automator) and follow the instructions below for each automation.
New Tickets:
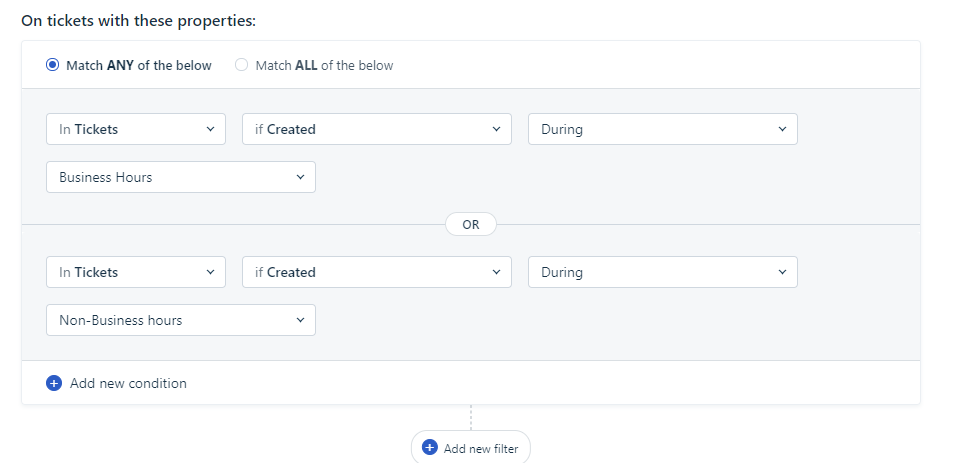
Set the conditions for when tickets should send the webhook:
- Select Trigger webhook as the action
- Select POST as the request type
- URL should be listed on your Integration Settings Page. under the Ticket Notification section.
- Add the code below:
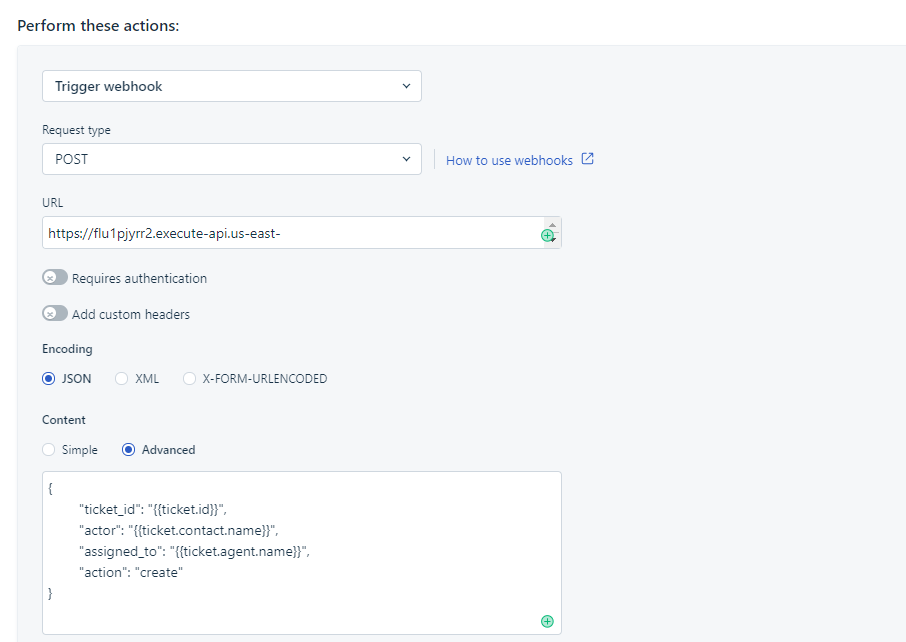
{
        "ticket_id": "{{ticket.id}}",
        "actor": "{{ticket.contact.name}}",
        "assigned_to": "{{ticket.agent.name}}",
        "action": "create"
}
For Ticket Updates:
{
        "ticket_id": "{{ticket.id}}",
        "action": "update",
        "assigned_to": "{{ticket.agent.name}}",
        "last_comment": "{{ticket.latest_public_comment}}",
        "subject": "{{ticket.subject}}",
        "message": "{{ticket.description}}",
        "phone": "{{ticket.contact.phone}}",
        "address": "{{ticket.contact.address}}",
        "mobile": "{{ticket.contact.mobile}}",
        "email": "{{ticket.contact.email}}",
        "name": "{{ticket.contact.firstname}} {{ticket.contact.lastname}}",
        "status": "{{ticket.status}}"
}