osTicket Documentation
This guide will show you how to set up osTicket to work with your new Helpdesk Buttons in as few as 15 minutes.
Integration
osTicket integration requires two main parts:
1) set up the API integration.
2) configure helpdeskbuttons account.
Video Walkthrough
1) Create Your API Keys
Once you are logged in as an Admin. Click on Admin Panel in the top-right.

Now click API Keys under the Manage tab.

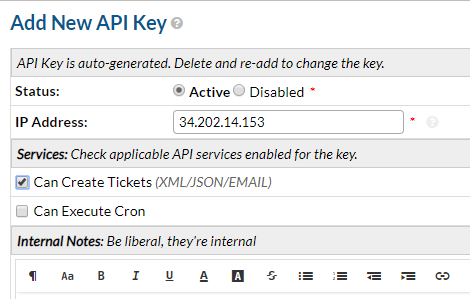
We will need to create two API Keys. For each key, click Add New API Key and fill out the form


osTicket requires API Keys be paired with IP addresses. Helpdesk Buttons servers are located at:
- 34.202.14.153
- 3.209.57.193
Let’s Label these as Key1 (34.202.14.153) and Key2 (3.209.57.193)
2) Helpdeskbutton.com Settings

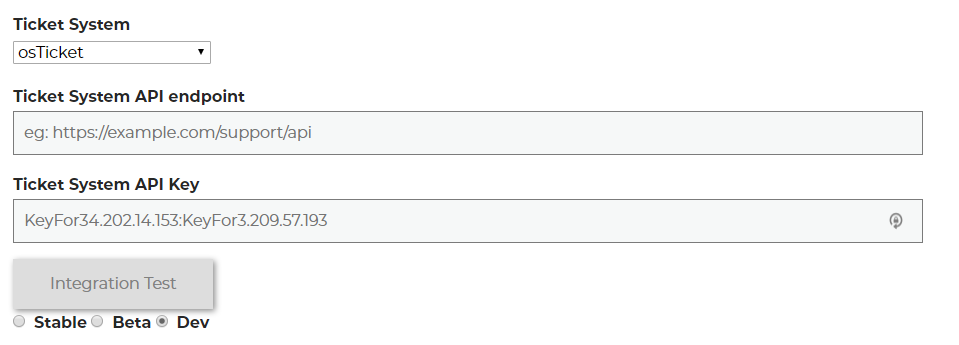
Once you have your API Keys and you put in the url for osTicket put the keys into the appropriate space on Settings page in this format:
Key1:Key2
That should be it. Hit update and test the integration with the Integration Test button.
Anti-Virus and AntiMalware
It is not always necessary, but we recommend whitelisting the tier2tickets installation folder (C:\Program Files(x86)\tier2tickets). We regularly submit our code through VirusTotal to make sure we are not getting flagged, but almost all AV/M interactions cause some sort of failure. Webroot in particular can cause issues with screenshots.
Dispatcher Rules
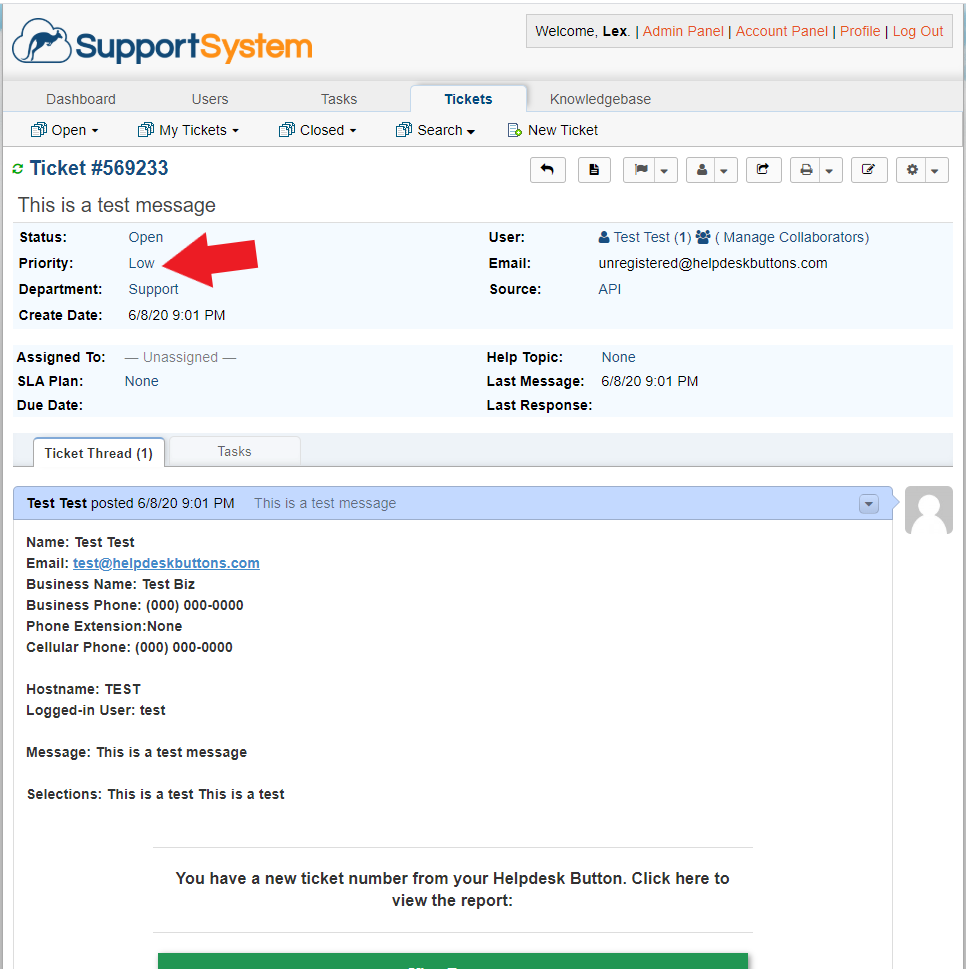
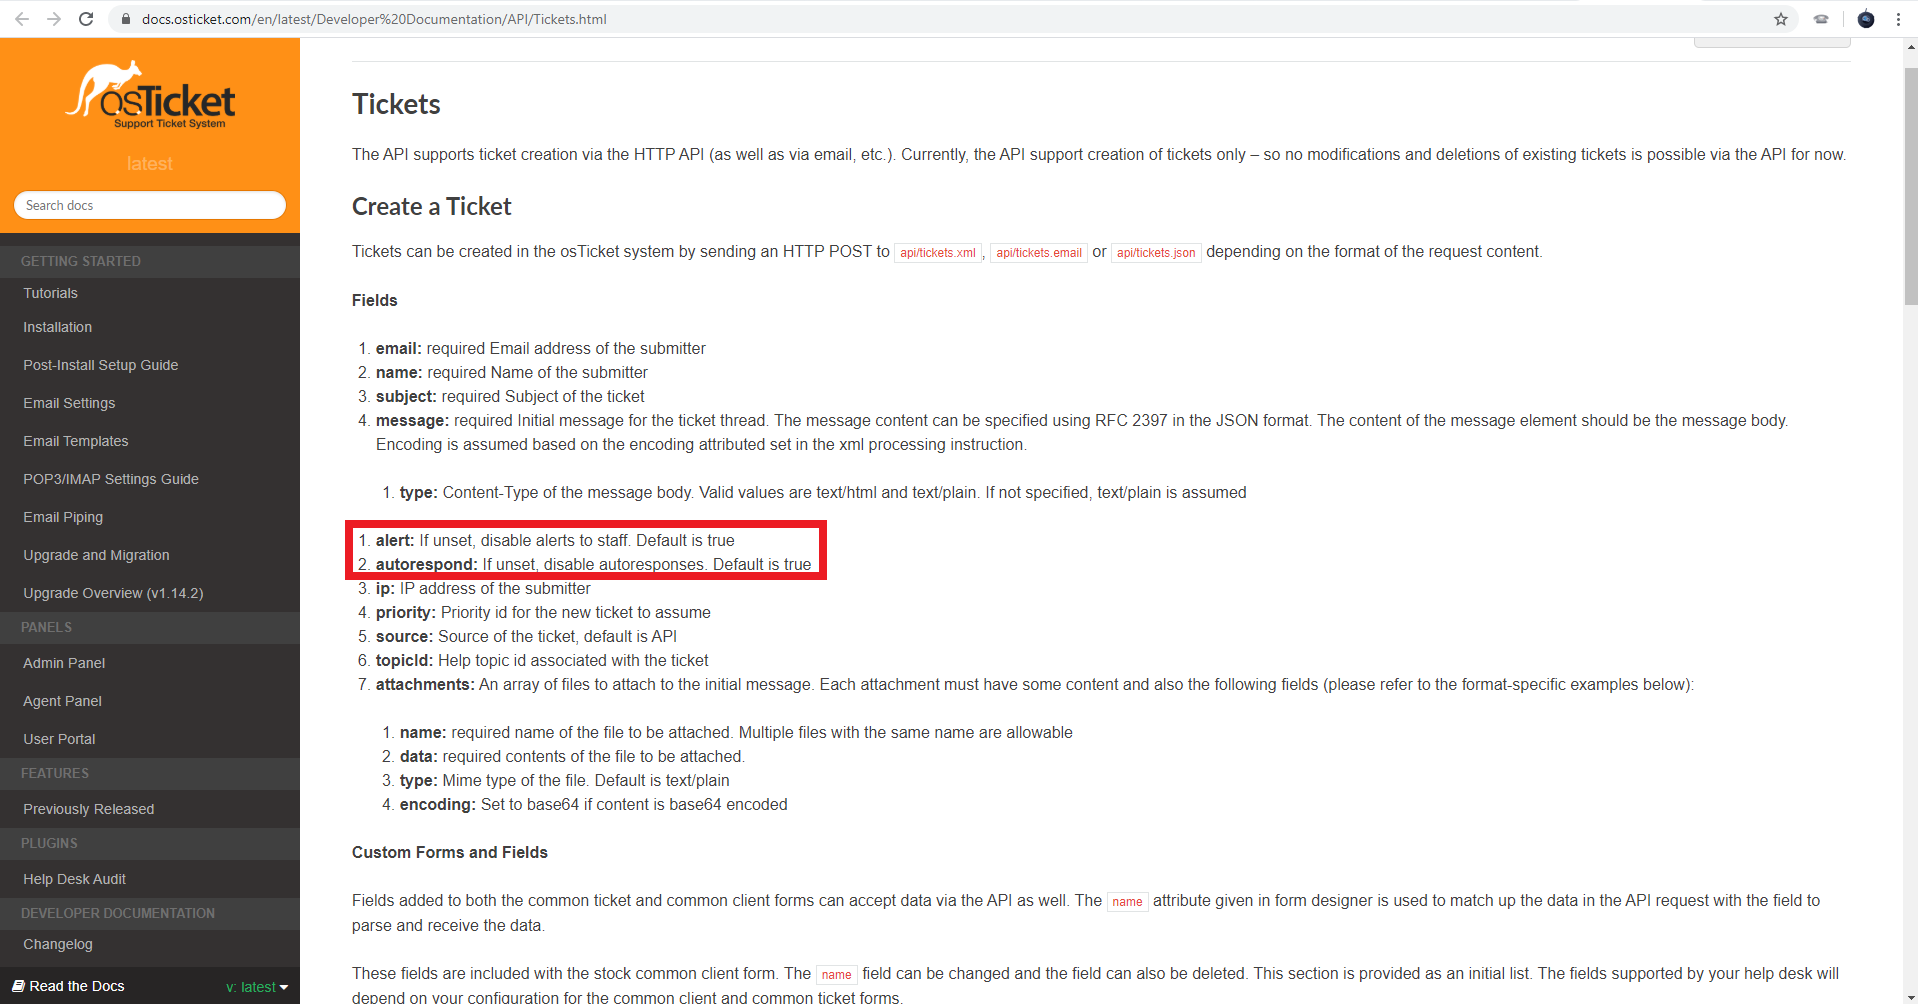
This is the list of variables that can be accessed when using the Dispatcher Rules.
| Read/Write | Read Only |
|---|---|
| priority | selections |
| alert | name |
| auto_respond | |
| msg | hostname |
| subject | mac |
| append | ip |
Webhook Walkthrough
osTicket does not support webhooks. We are looking into another system for enabling notifications for this ticket system.

