ERPNext Documentation
This guide will show you how to set up your new Helpdesk Buttons with ERPNext in as few as 15 minutes.
Integration
ERPNext integration requires three main parts:
1) set up an unregistered user as a catchall account as a contact in your PSA
2) set up the API integration.
3) configure helpdeskbuttons account.
Video Walkthrough
1) Create an Unregistered User
Create a Customer to receive ‘Catch All’ tickets and add a Contact to that Customer with the email address
unregistered@helpdeskbuttons.com
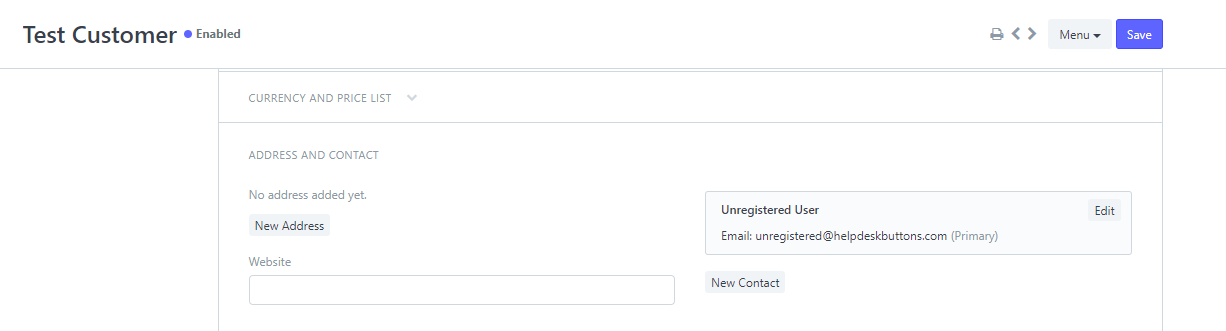
This is in case someone puts in an email that is not already in ERPNext, this will also prompt the GUI to ask for identifying information from the end user.
2) Create an API KEY and SECRET
To create the API KEY for ERPNext:
Click Settings -> My Settings -> API Access
You can create a key by clicking the “Generate Keys” Button.
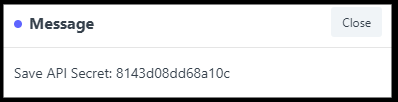
Copy down the API Secret as it cannot be viewed again.
If the API Key does not show up try logging out, then back in.
You should see something like this when you have successfully created a key pair.

Copy the API Key as you will need that to complete the integration.
3) Helpdeskbuttons.com Settings
Enter your Ticket System API endpoint as shown (do not add add https:// or the path after the url)
for cloudhosted instances: business_name.erpnext.com
Your API key is formatted as shown
api_key:api_secret
Click Update and the Integration Test button to send a test ticket.
Anti-Virus and AntiMalware
It is not always necessary, but we recommend whitelisting the tier2tickets installation folder (C:\Program Files(x86)\tier2tickets). We regularly submit our code through VirusTotal to make sure we are not getting flagged, but almost all AV/M interactions cause some sort of failure. Webroot in particular can cause issues with screenshots.
Dispatcher Rules
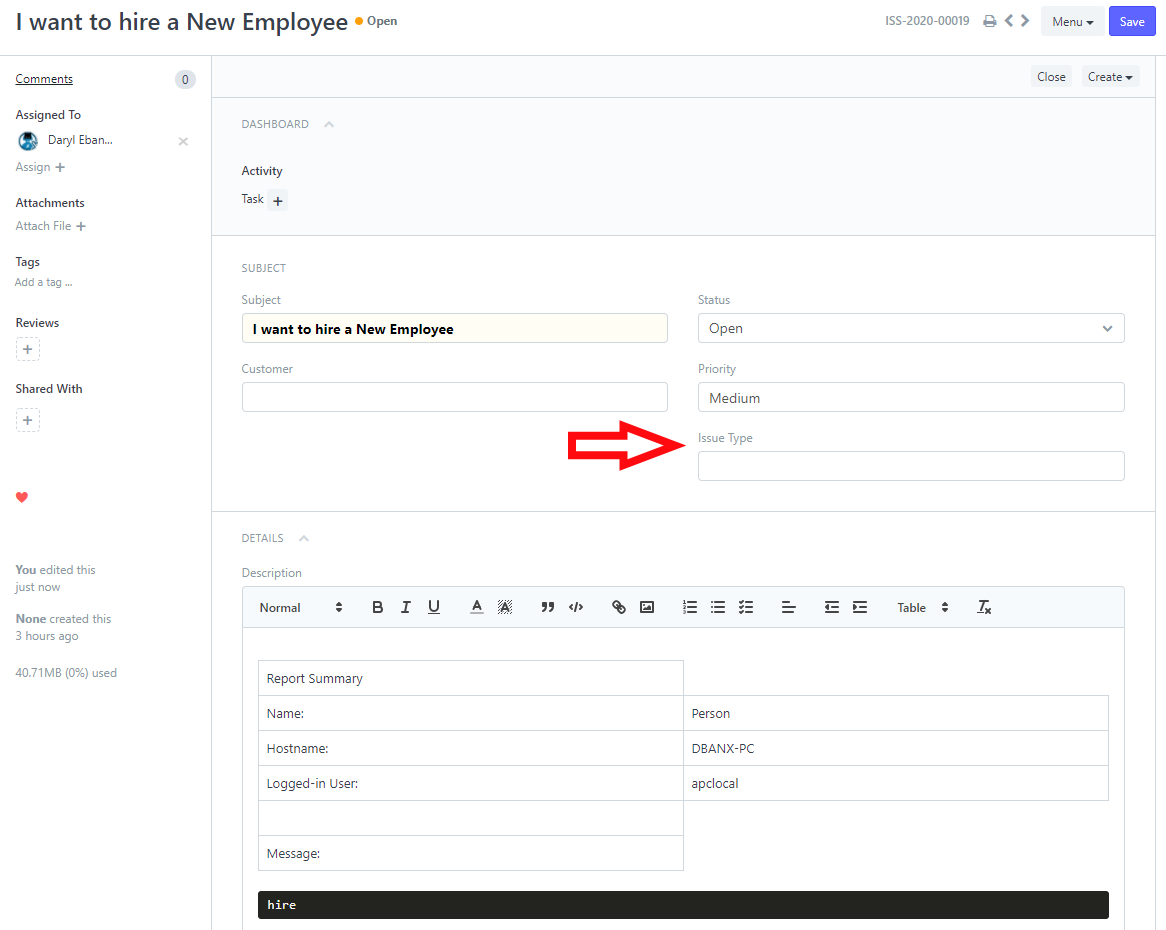
This is the list of variables that can be accessed when using the Dispatcher Rules.
| Read/Write | Read Only |
|---|---|
| priority | selections |
| issue_type | hostname |
| status | name |
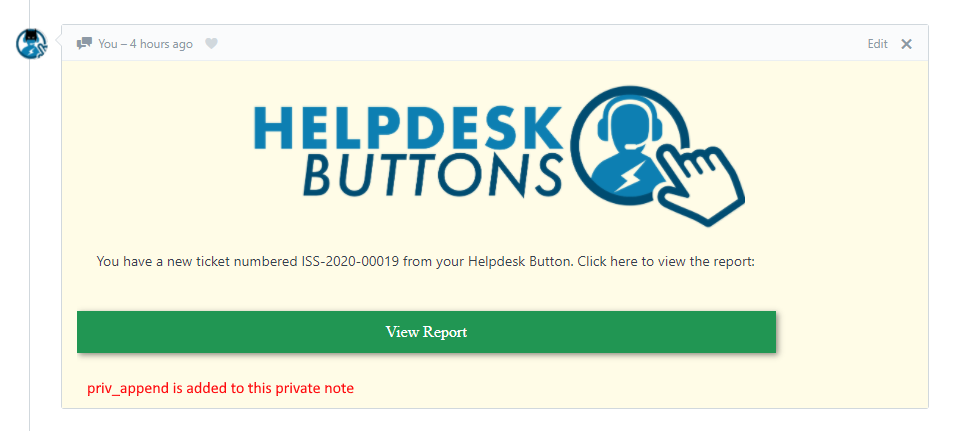
| priv_append | |
| msg | ip |
| subject | mac |
| owner | |
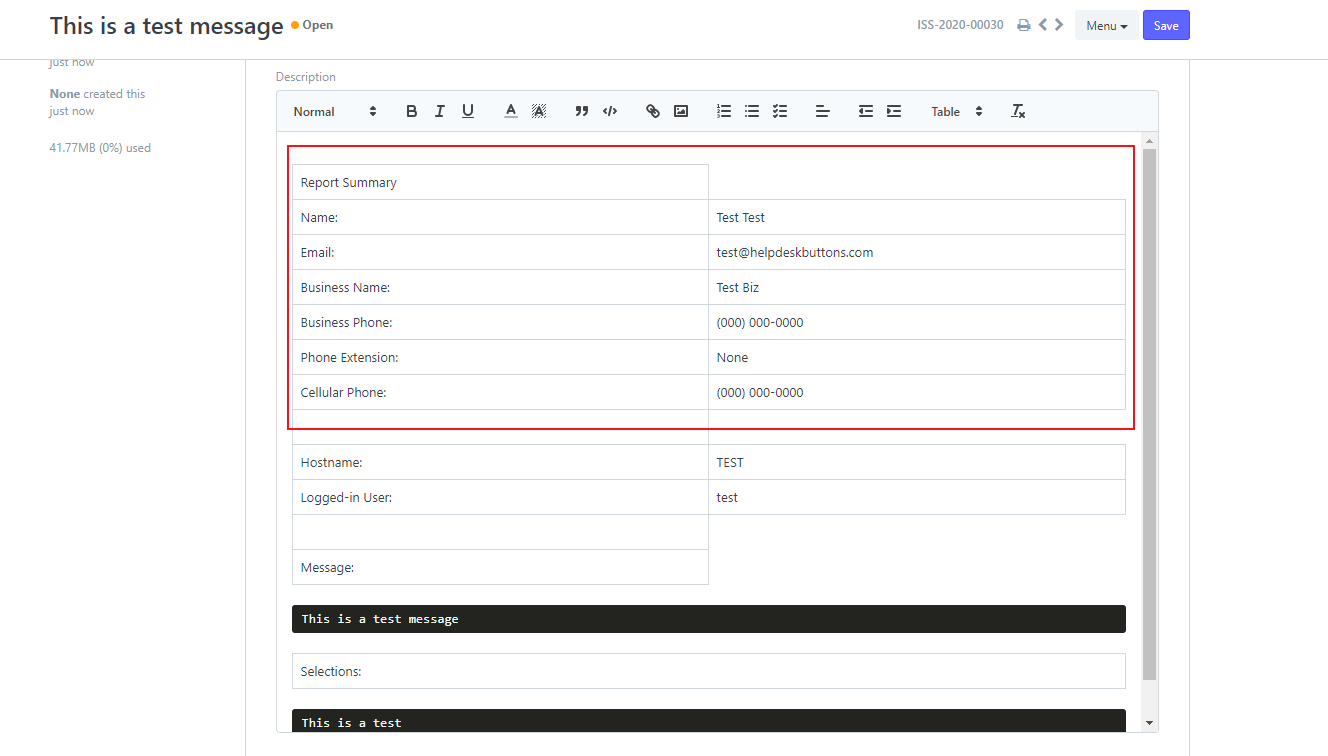
Field Definitions

Webhook Walkthrough
To setup a webhook in ERPNext, click Administration -> Integrations -> Settings -> Webhook
Click New to Create a new webhook.
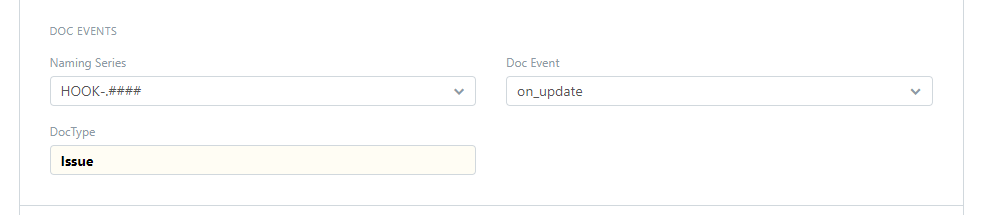
Fill out the webhook as follows:
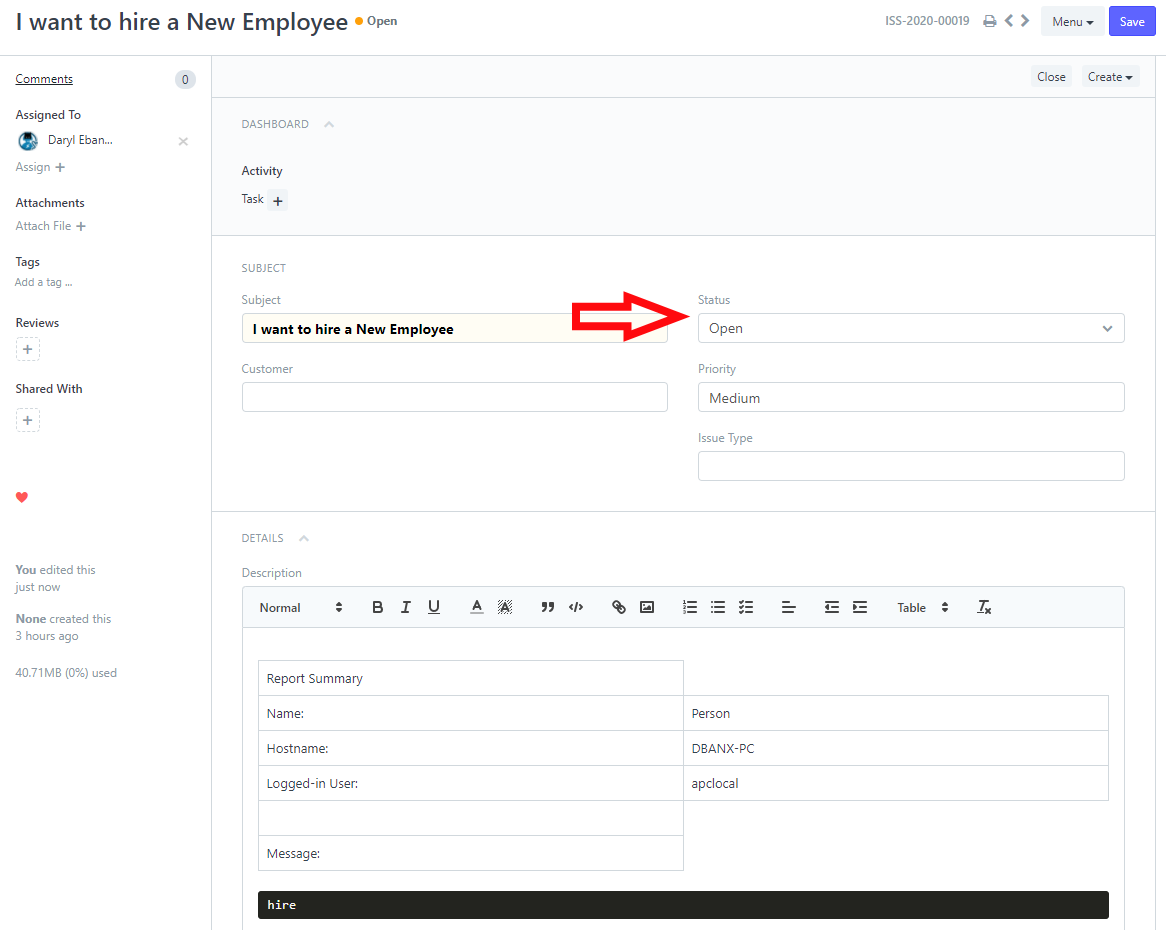
- DocType to Issue (Support)
- Doc Event to on_update.
- Request URL should be listed on your Integration Settings Page. under the Ticket Notification section.
- Request Structure to Form URL-Encoded
Click Save
Doing this will lock some of the choices in and provide more options for the rest of the webhook.
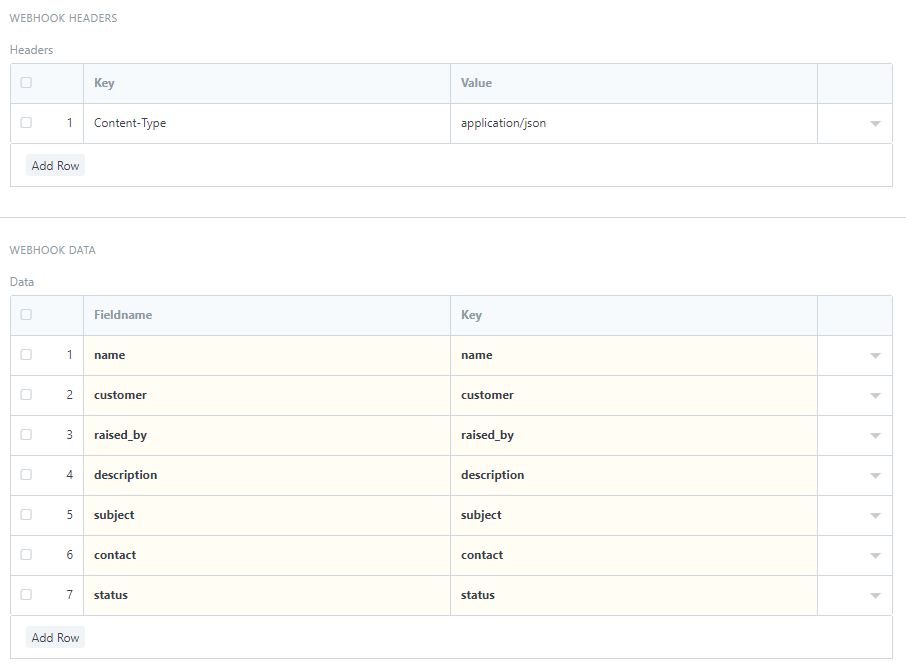
- Set the webhook header to application/json
- Add these fields to the webhook data area
- Name
- Customer
- Raised By
- Description
- Subject
- Contact
- Status
Save Again and you should be all set